 FREE 1 to 3-Day Delivery on Orders $119+ Details

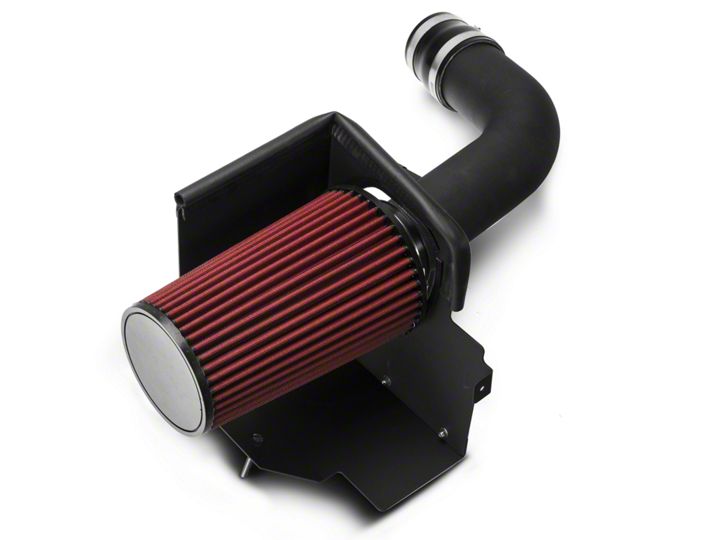
How To Install a Redrock 4X4 Cold Air Intake Kit on your 2007-2011 Jeep Wrangler JK
Installation Time
1 hours
Tools Required
- Flathead screwdriver
- 8mm socket
- 10mm socket
- Adjustable crescent wrench
- 7/64 allen wrench
Shop Parts in this Guide
Installation Notes: Do not tighten mounting bolts until you are ready to install the filter.
Installation Instructions:
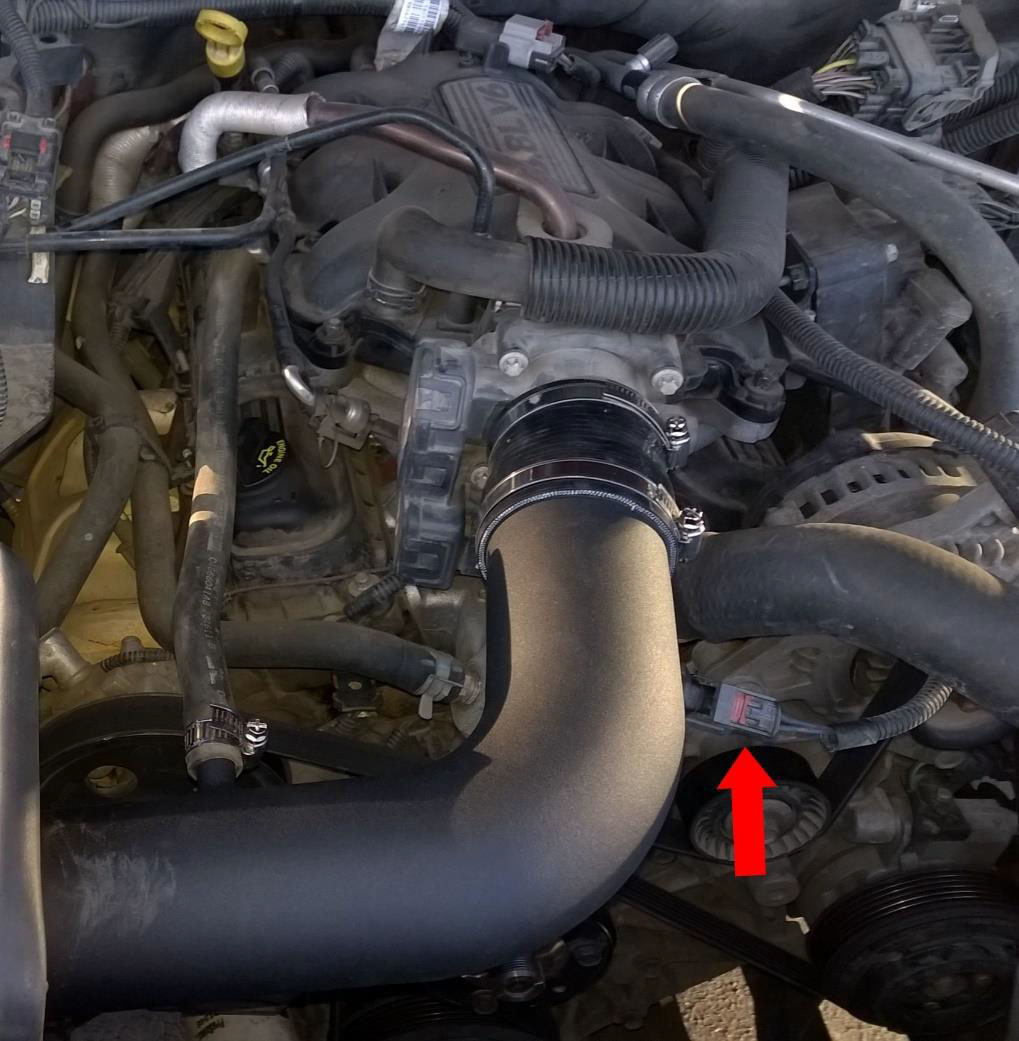
1. Unplug the IAT sensor on the side of the intake tube.
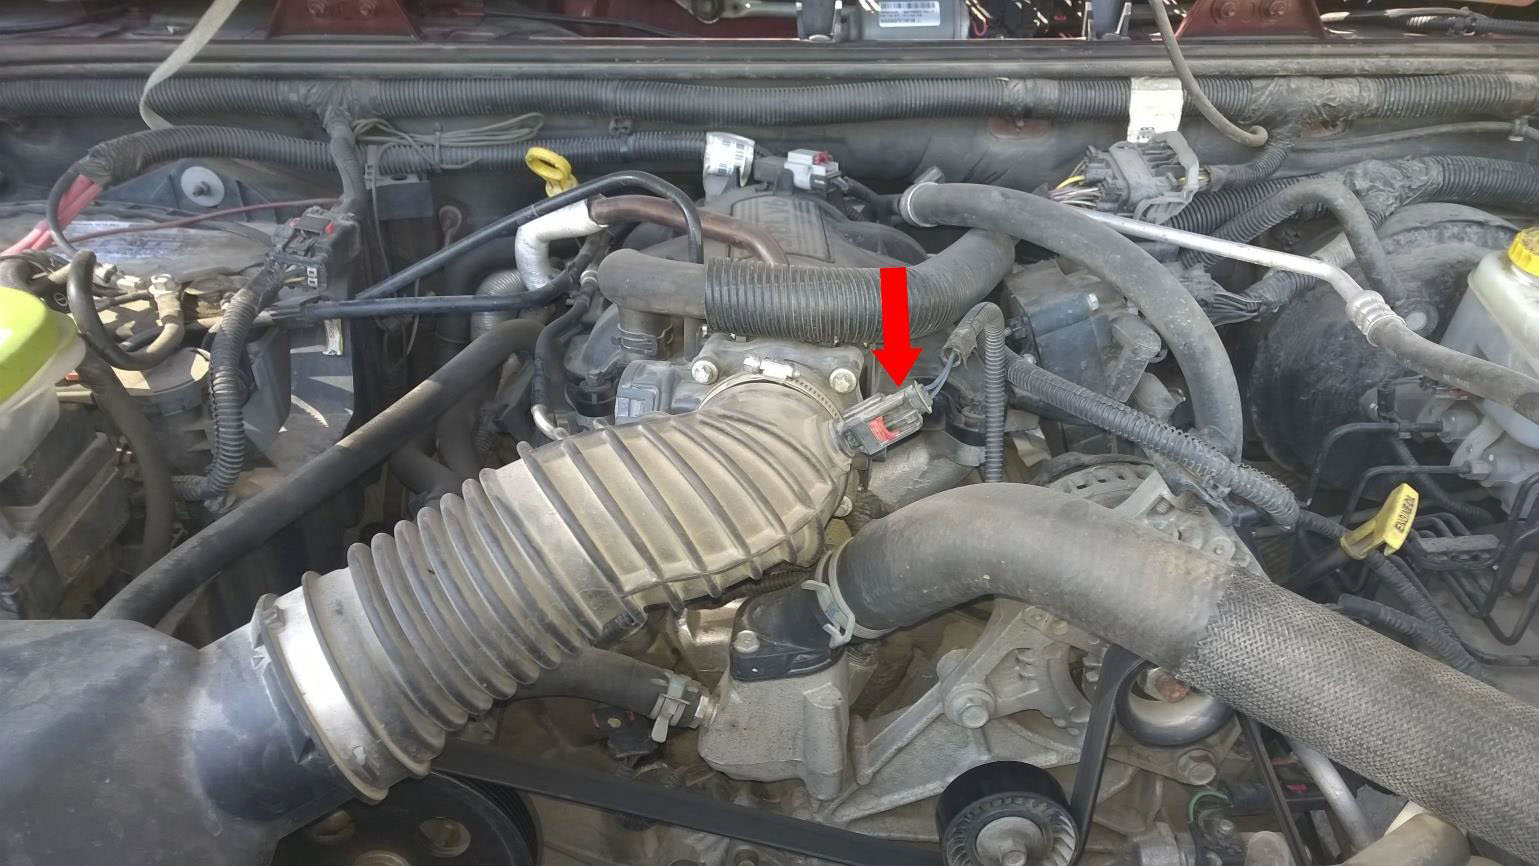
2. To unplug the IAT sensor, slide the red lock-clip up and squeeze the ends of the plug while gently pulling up.

3. Slide the PCV hose off the factory air intake.
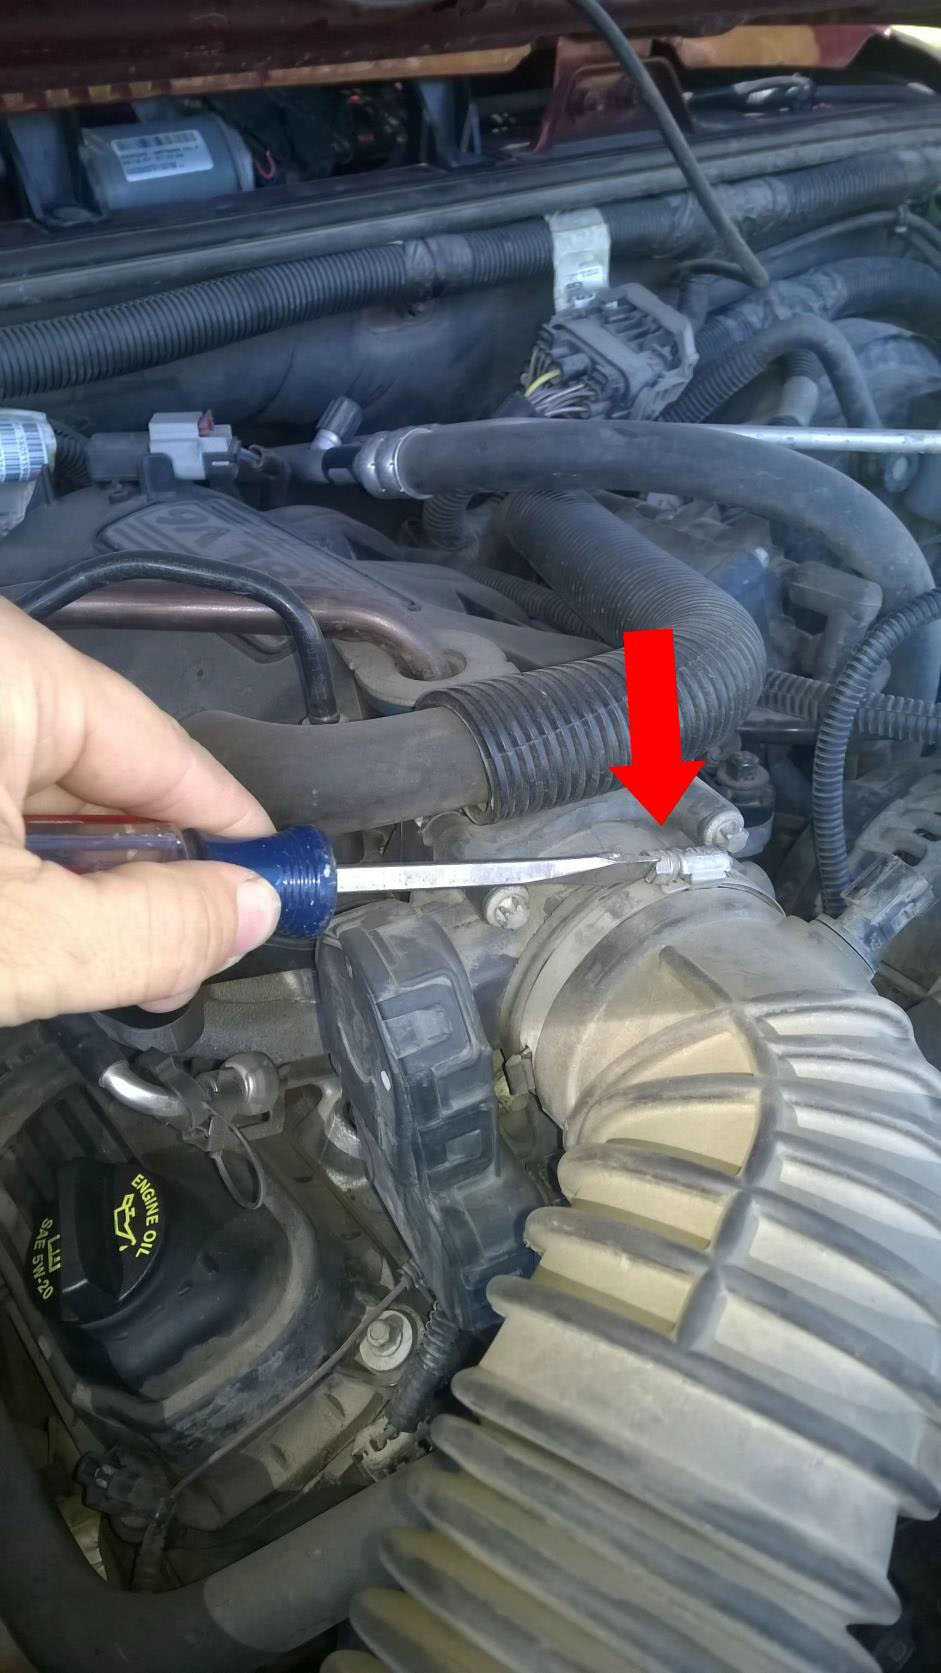
4. Using a flathead screwdriver, remove the hose clamp holding the intake tube to the throttle body.
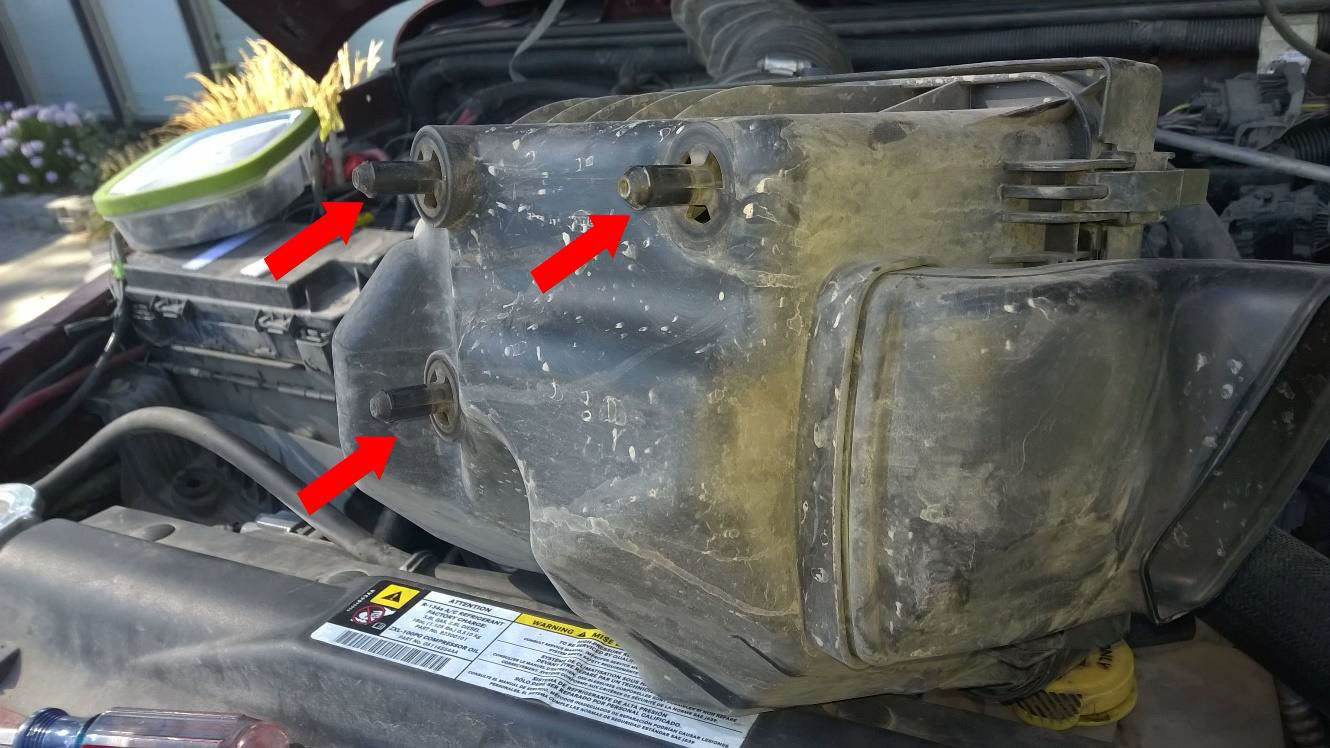
5. Pull the entire factory cold air intake up and away from the vehicle. (It is not bolted on. If you wiggle it a little the three clips shown below should release easily.)
6. Remove the IAT sensor from the factory intake tube. Using a flathead screwdriver gently pry it up being careful not to damage the sensor.

7. Install the old IAT sensor into the new Red Rock 4x4 intake tube. Being careful not to damage the sensor, gently press it into the rubber grommet using a twisting motion.
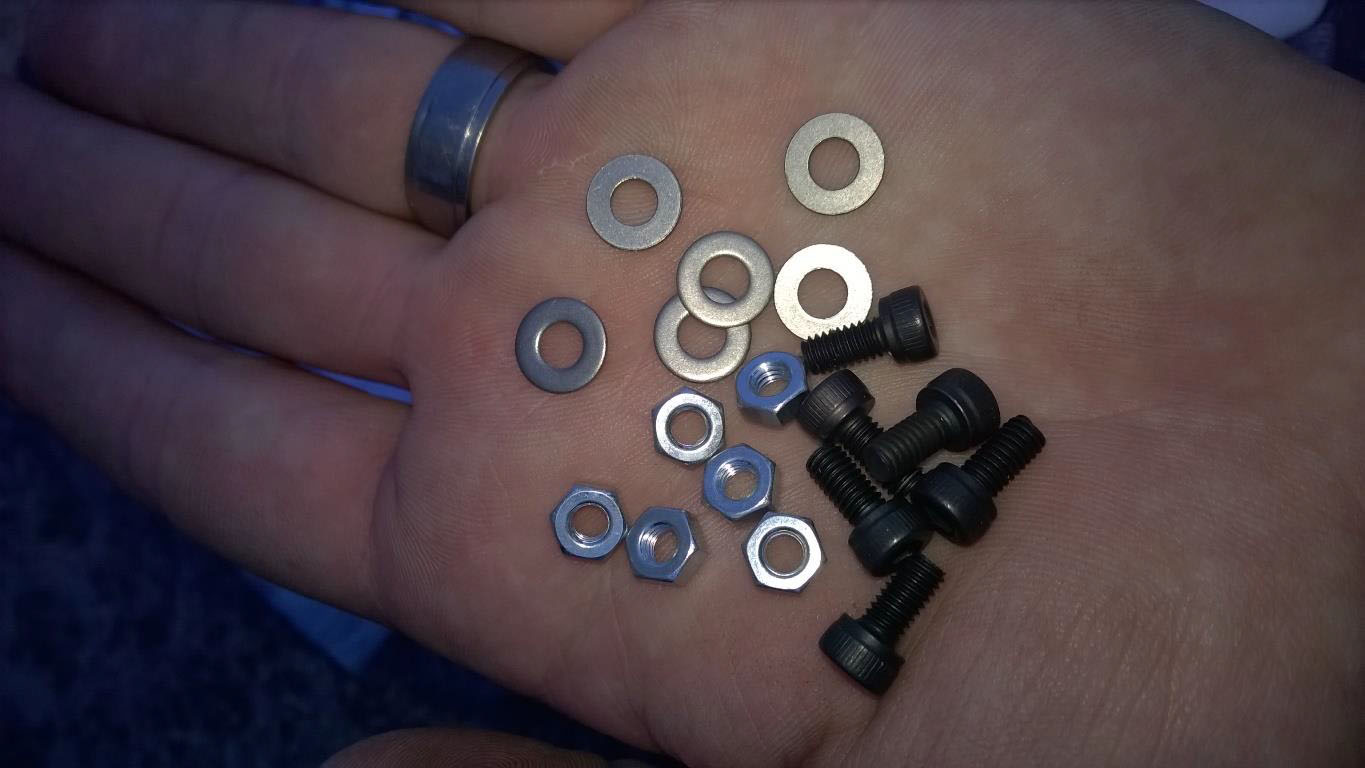
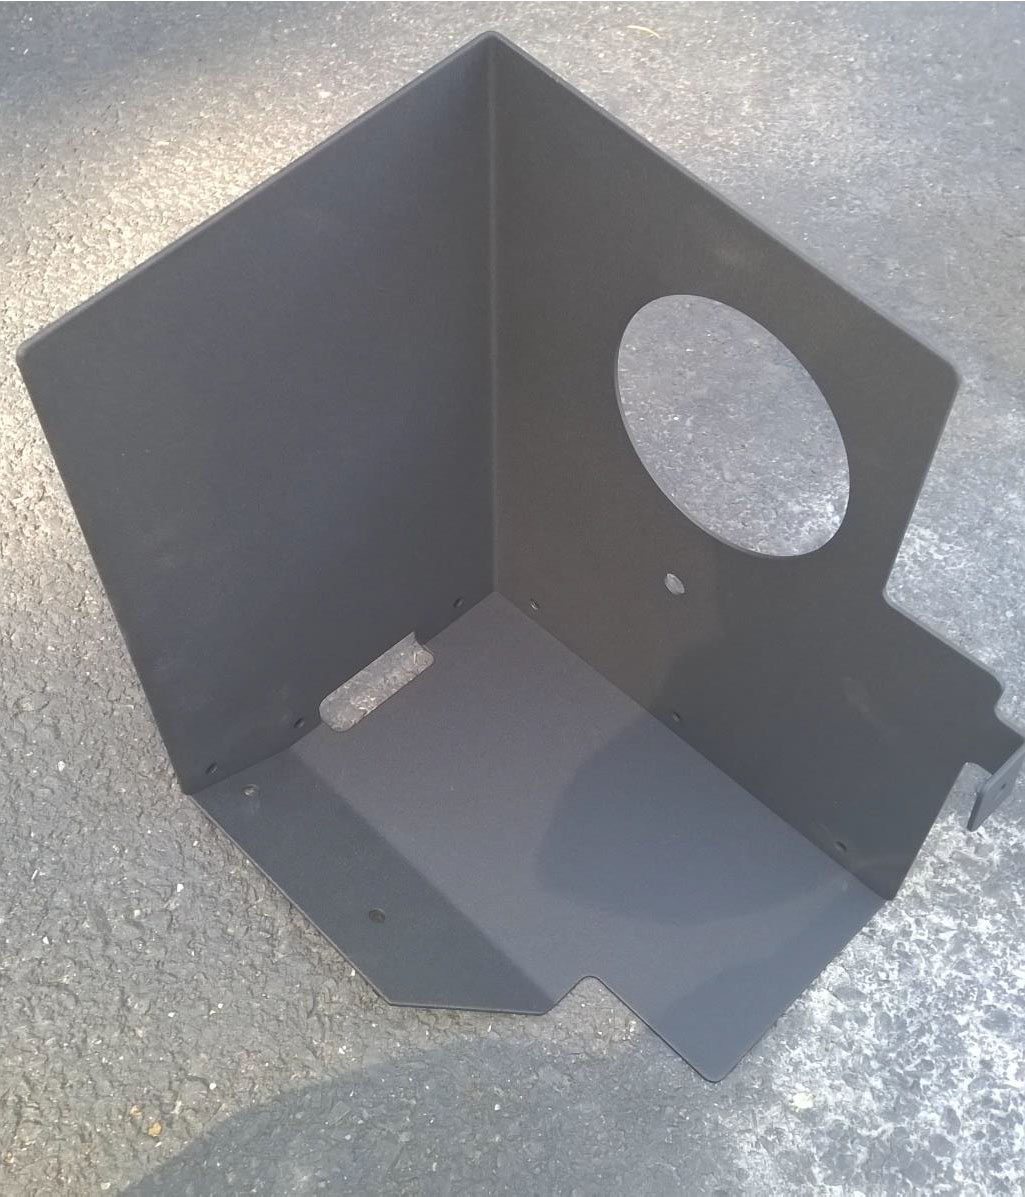
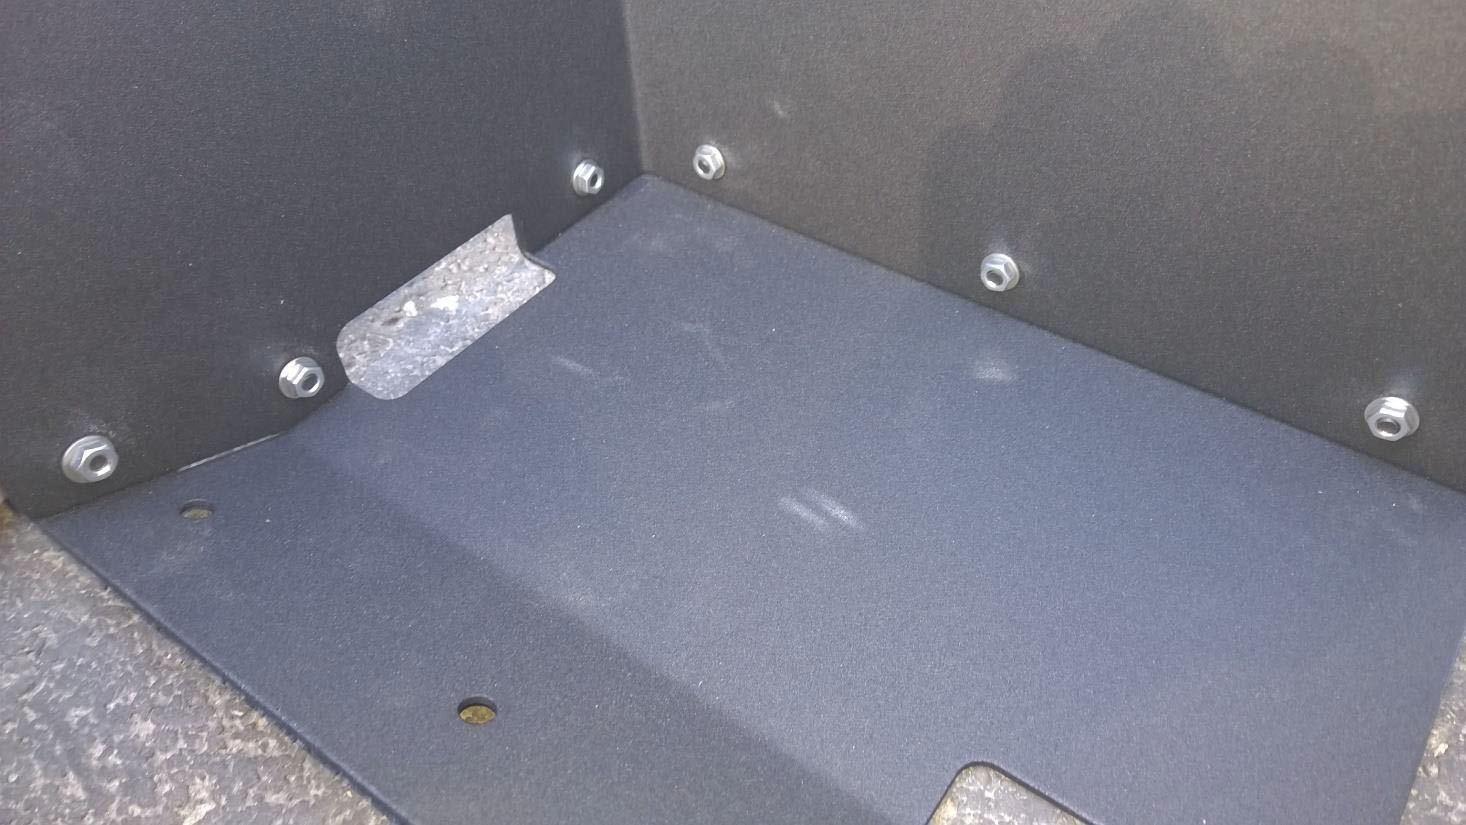
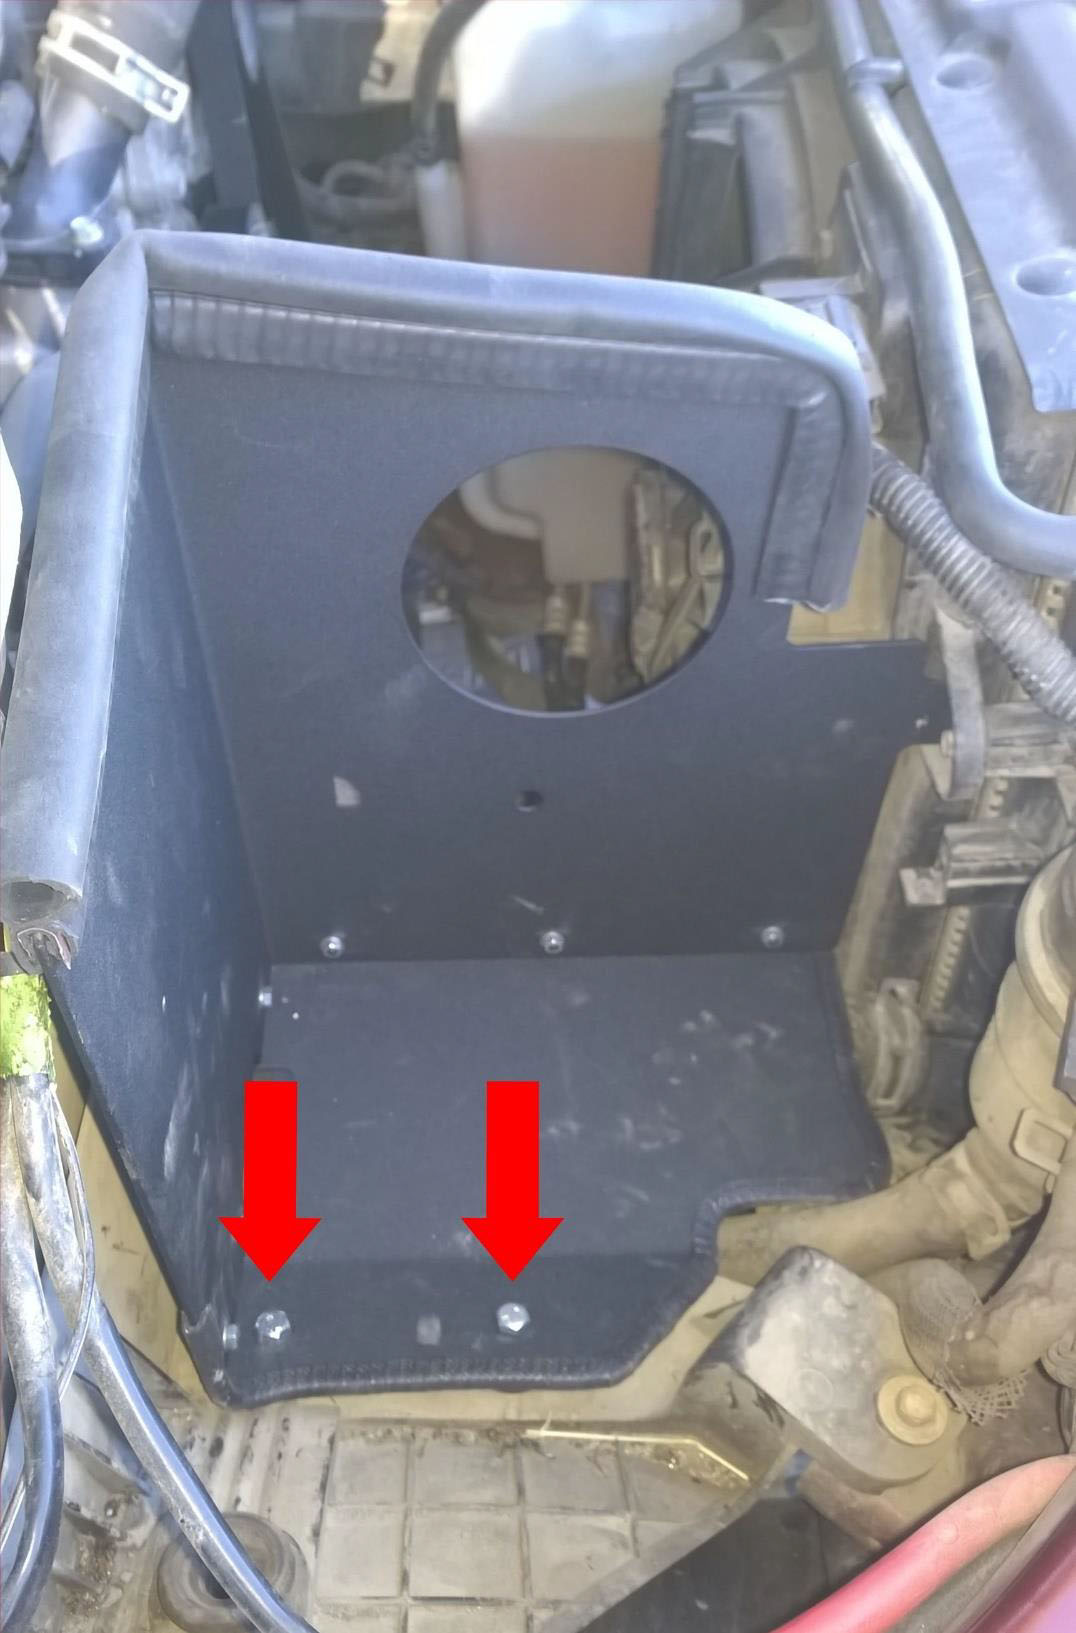
8. Using the (6) supplied nuts and screws, assemble the new heat shield. Place the top on the base as shown (pic 2). Slide the bolts through the back of the corresponding holes and attach washers and nuts (pic 3) using a 7/64 allen wrench and an adjustable wrench.
9. Remove the 8mm screw holding the fan shroud to the radiator.
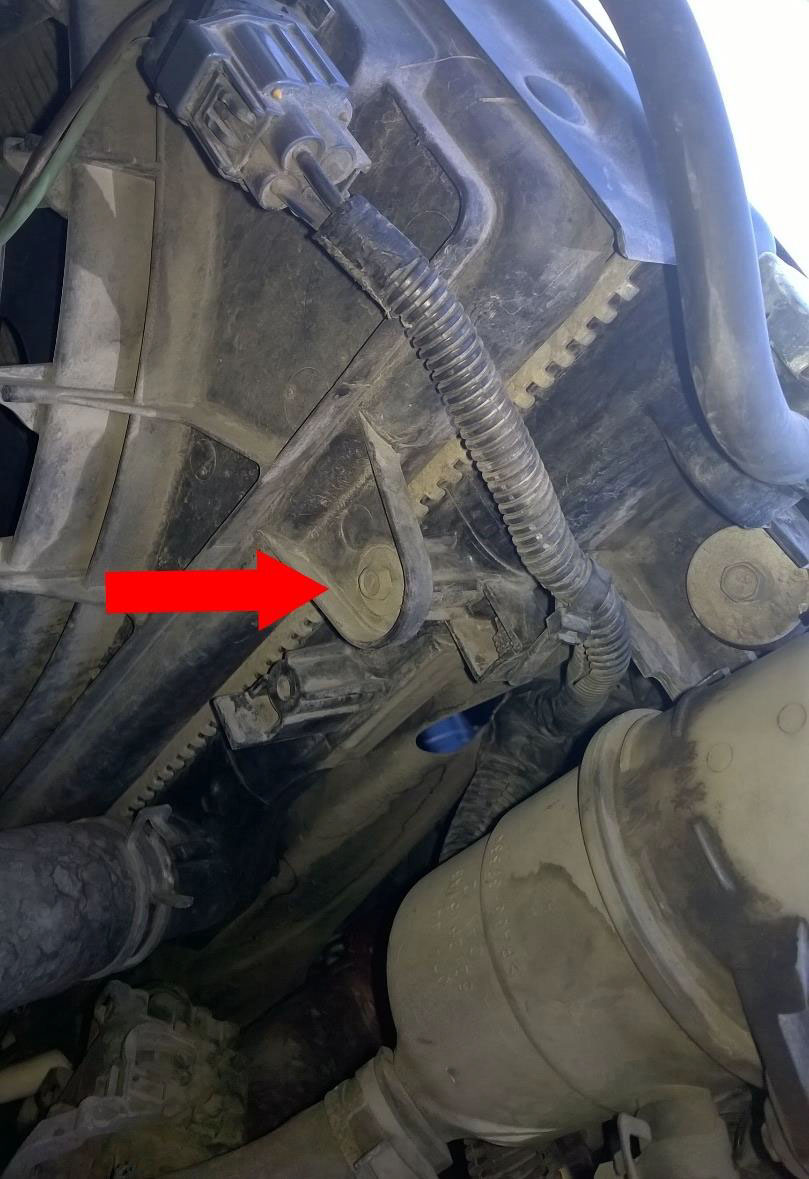
10. Install the heat shield using the factory mounting positions and secure with 10mm bolts. (The nuts can be attached by either removing the factory inner fenders, or by turning your wheels to make the bolts easier to reach.) Note: You will only use two of the original mounting holes.
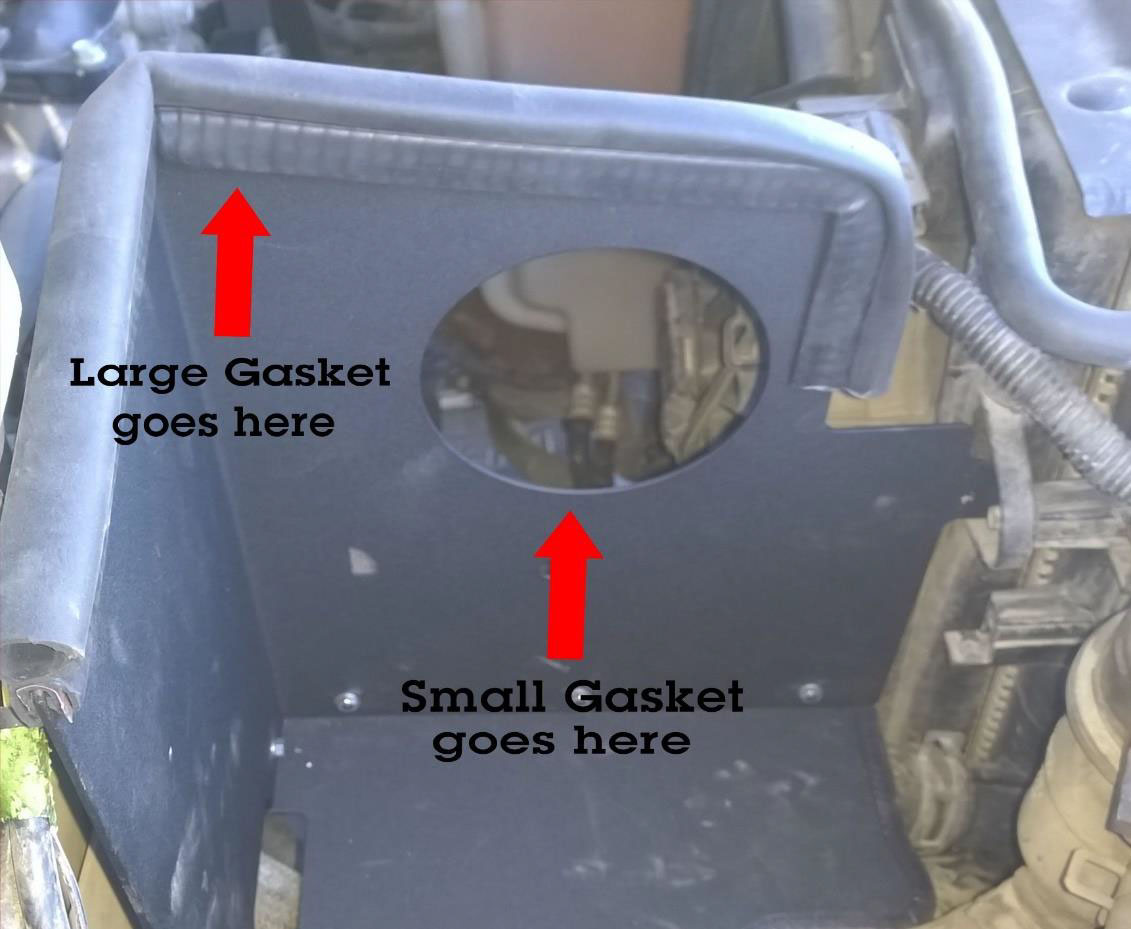
11. Install the large rubber gasket on the top of the heat shield and small gasket in the intake tube hole.
12. Reinstall the 8mm screw holding the fan shroud to the radiator.
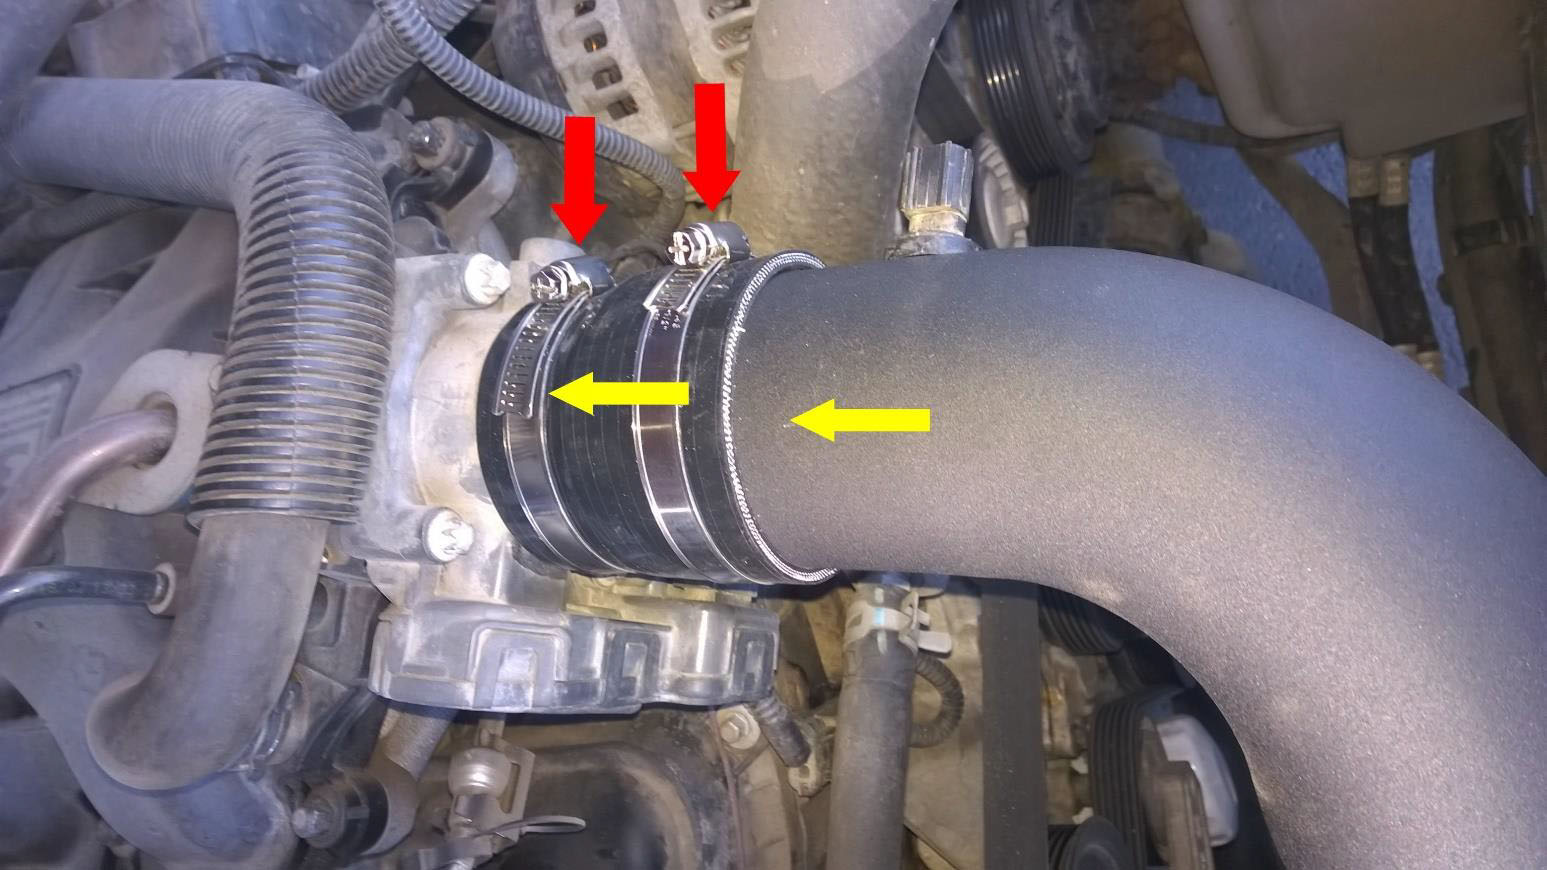
13. Install the intake tube into the coupler and onto the factory throttle body using the supplied hose clamps and fasten tightly with flat head screw driver.
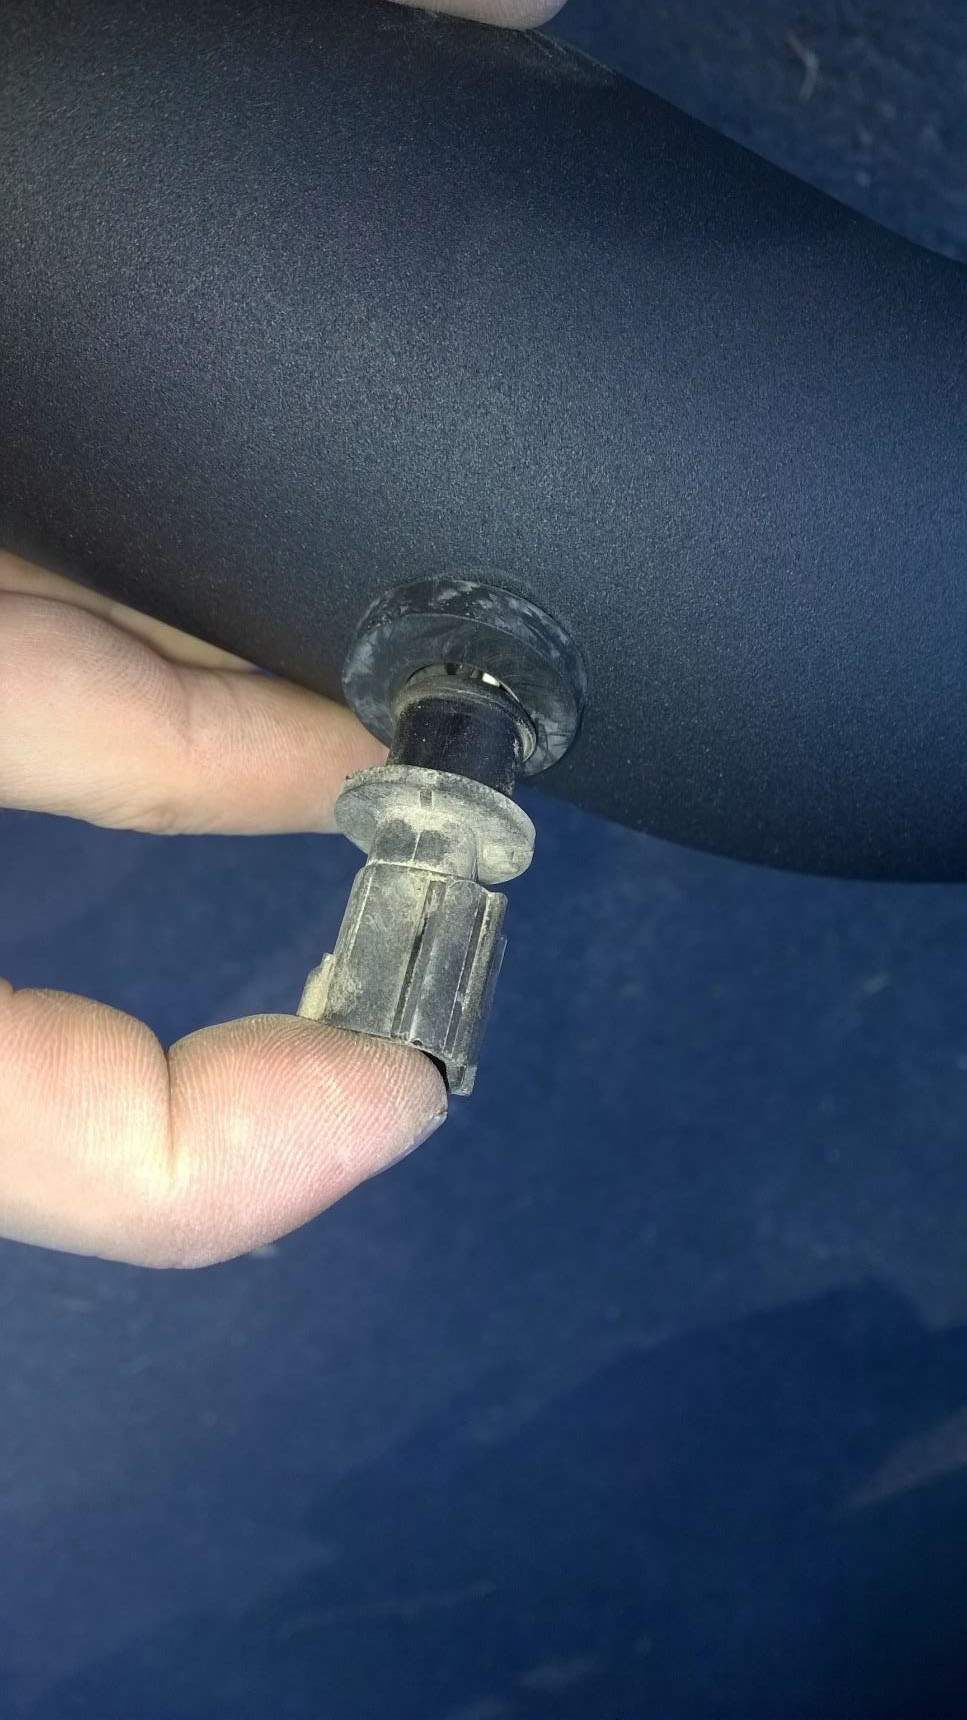
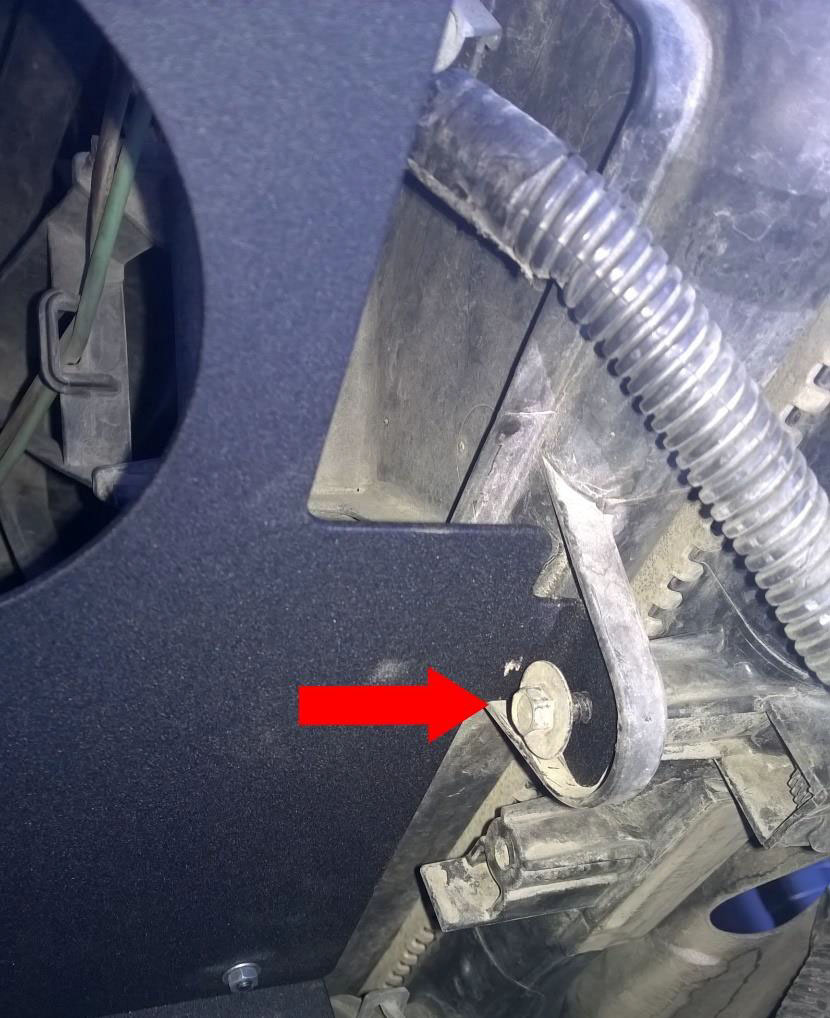
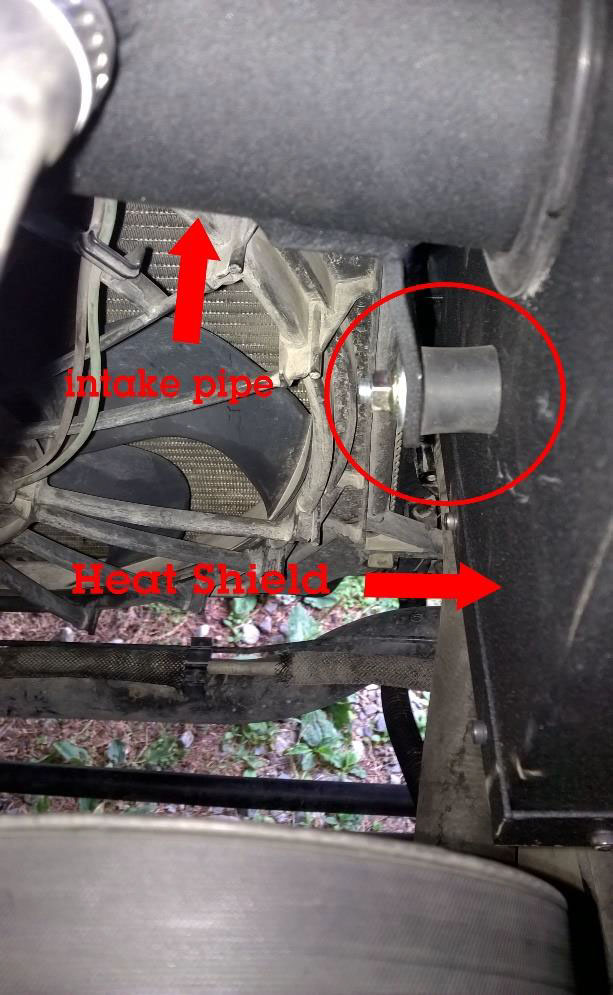
14. Secure the intake tube to the heat shield using the supplied spacer. (It is a rubber cylinder with threads on both sides.) One end attaches to the air intake tab located on the bottom of the intake pipe, and the other to the pre- drilled hole in the heat shield.
15. Reinstall the factory PCV hose onto the new intake tube and secure with a new hose clamp.

16. Plug in the IAT sensor that you previously installed into the intake tube.
17. Tighten the heat shield mounting bolts, then install the filter onto the new intake pipe and tighten down using the supplied hose clamp.
Installation Instructions Written by Extreme Terrain Customer Dennis Wilkening 07/21/2015
