 FREE 1 to 3-Day Delivery on Orders $119+ Details

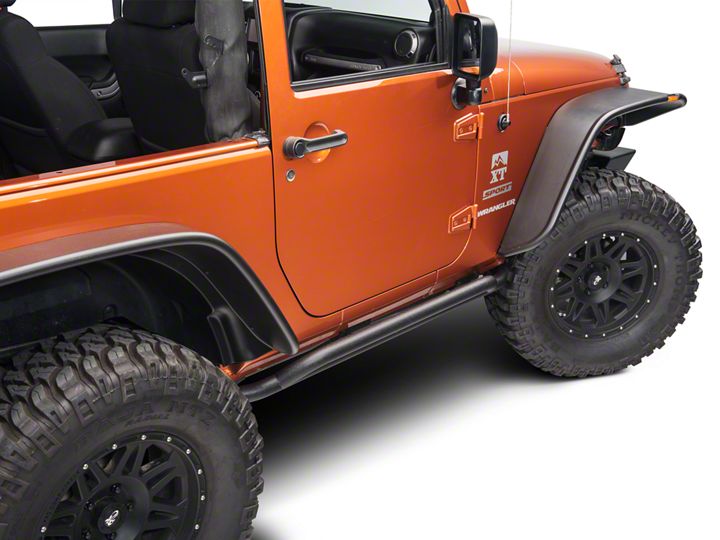
How to Install RedRock 4x4 Rocker Guards on your 2007-2017 Jeep Wrangler JK 2 Door
Installation Time
1 hours
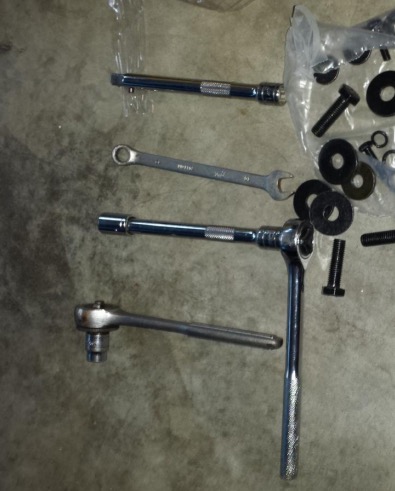
Tools Required
- 10mm wrench
- 10mm socket
- 12mm socket
- 6inch extension
- Ratchet
- Hydraulic floor jack (optional)
Shop Parts in this Guide
Required Tools:
1. Unpack box and position the appropriate rocker guard on the floor next to the Jeep.
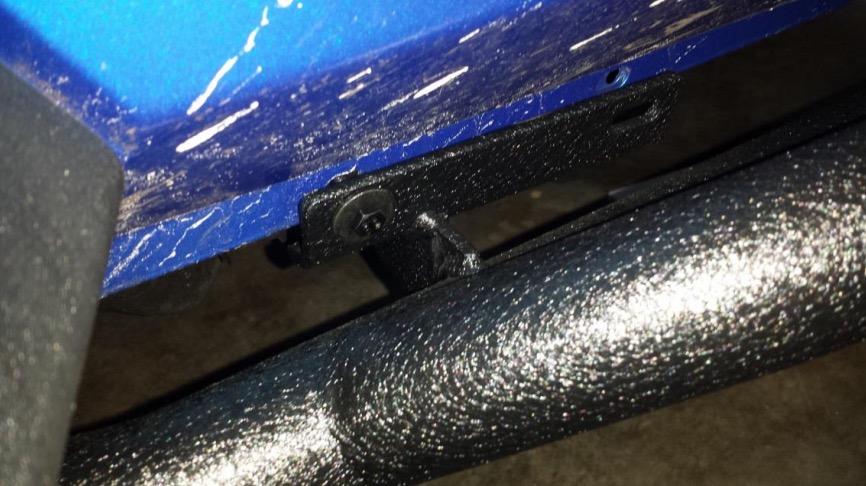
2. Locate the 3 treaded holes in the underside of the Jeep.
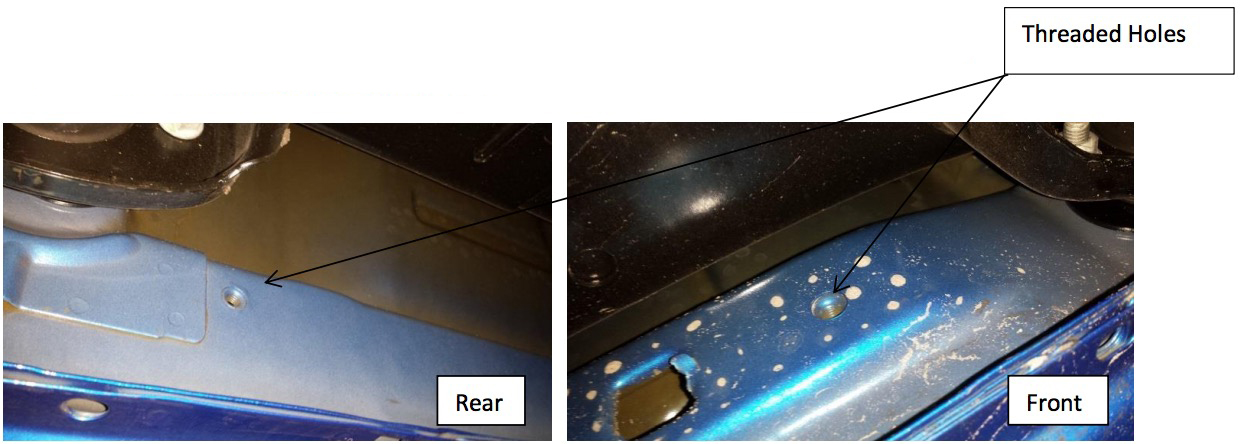
3. Align the rocker guard so that the threaded holes will line up when it is raised into position (They are side specific – Left won’t fit on right or vice versa).
4. If you are alone you can use a hydraulic floor jack to raise the rocker guard into place. Be very careful as it could easily slip off the jack and damage the side of your Jeep. The alternate method would be to have a helper lift one end while you lift the other.
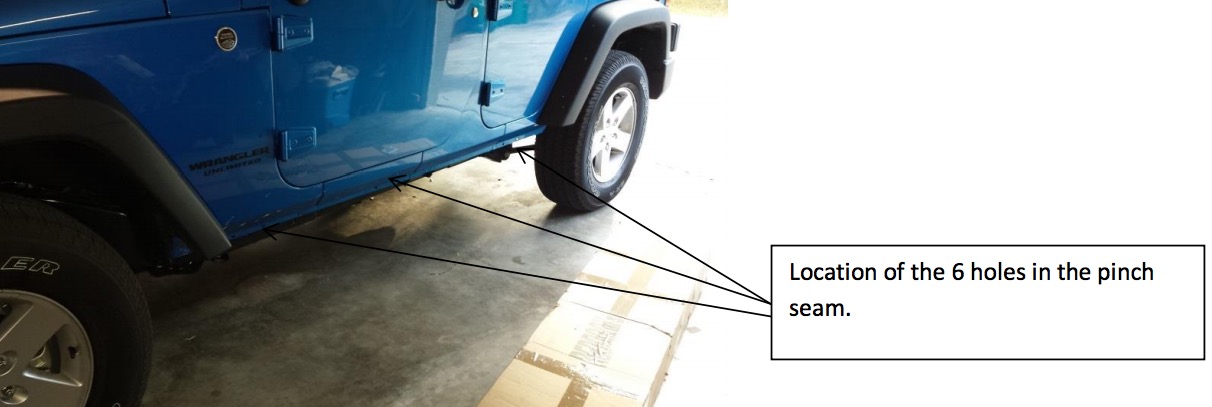
5. Raise the rocker guard so that the 6 holes in the vertical mounting surfaces of the rocker guards align with the 6 holes in the pinch seam at the bottom of the Jeep.

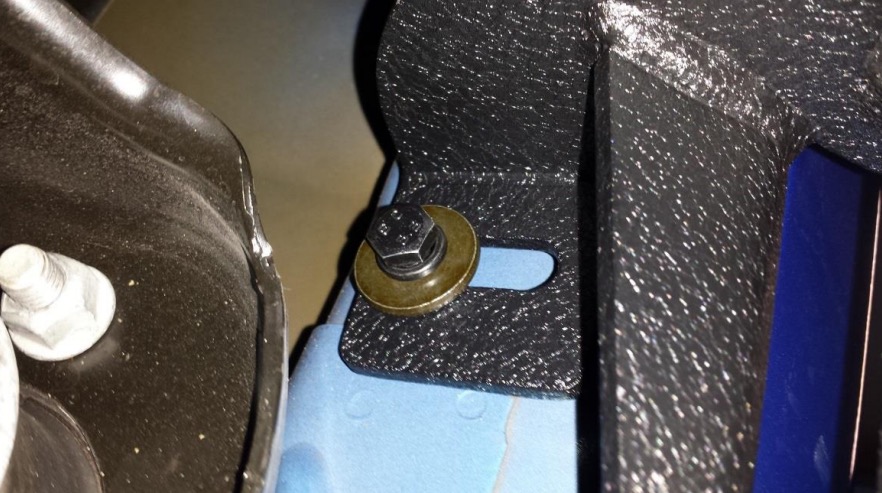
6. Insert a 10mm bolt with a small washer through the front hole and the rear hole with another small washer and the nylon lock nuts on the bolts. (Don’t tighten the bolts. Just a few turns to hold them up securely). Now you can let go of the rocker guard (lower the floor jack) as it will be suspended to allow you install the other bolts.
7. Install the remaining 4 10mm bolts with corresponding washers and lock nuts. Again do not tighten.
8. Go under the Jeep and install three 12mm bolts with the lock washers and medium sized washers through the horizontal mounting surfaces and into the threaded holes. You will have to adjust the rocker guards to get the holes to line up.
9. Adjust the rocker guards into their final position. Snug the 12mm bolts.
10. Securely tighten the 6 bolts in the pinch seam.
11. Securely tighten the 3 bolts underneath.
12. Proceed to the other side and repeat.
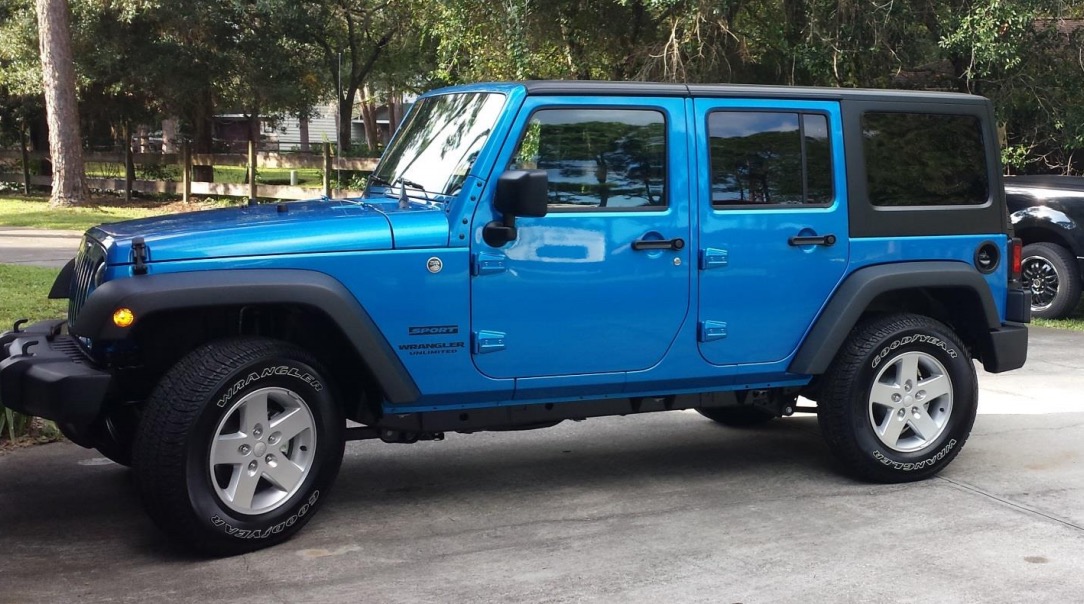
Before:
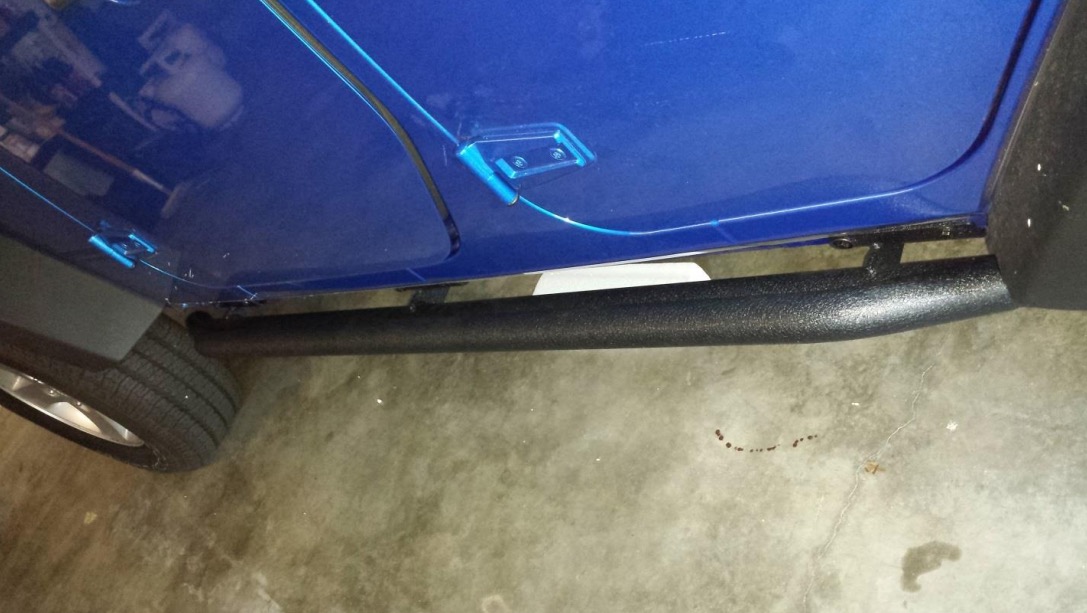
After:
Installation Instructions Written by ExtremeTerrain Customer Tim Freeland 11/04/2015
