 FREE 1 to 3-Day Delivery on Orders $119+ Details

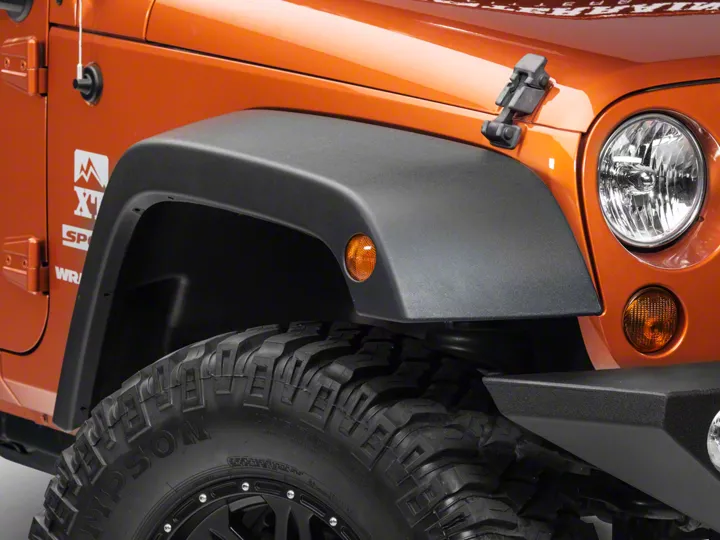
Top Sellers for Tacoma


How to Install Omix-ADA Fender Flares (07-18 Wrangler JK) on your Jeep Wrangler
Installation Time
60 minutes
Tools Required
- Box Cutter/Knife
- 10mm Socket
- Socket Wrench
- Fender Flare Hardware Kit (not included)
Shop Parts in this Guide
1. Begin by removing the current fender flare from the vehicle using a 10mm socket wrench (Figure A).
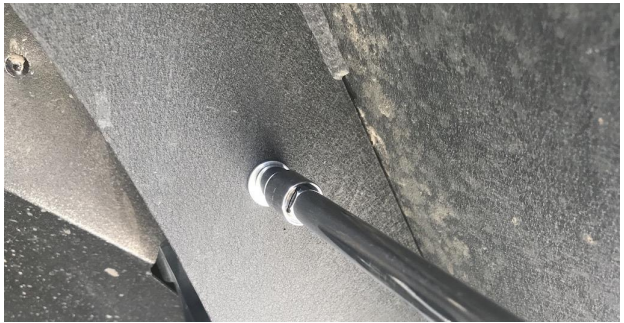
Figure A
2. Once all bolts have been removed, pull the current fender flare away from the vehicle (Figure B).
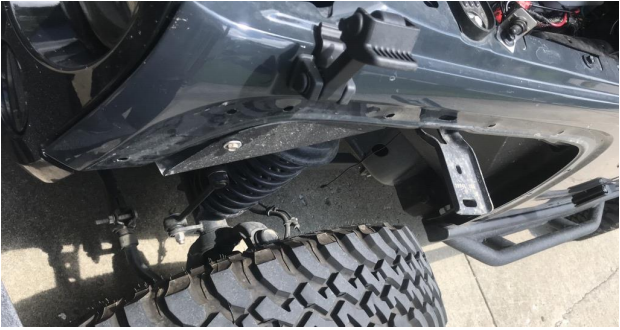
Figure B
3. Remove the Omix-ADA fender flare from the box and set them upside down on a soft surface. Locate the notched openings (Figure C).
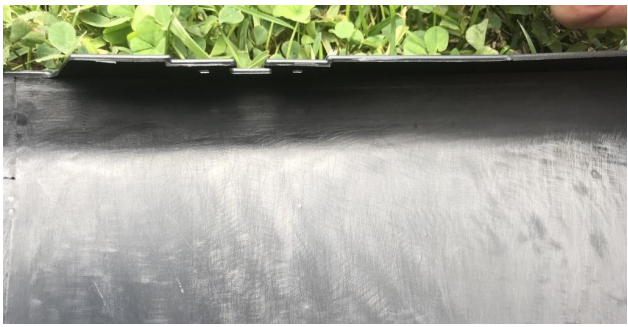
Figure C
4. Using pop-ins from a fender flare hardware kit (not included), slide pop-ins over the openings along the inside of the fender flares (Figure D).
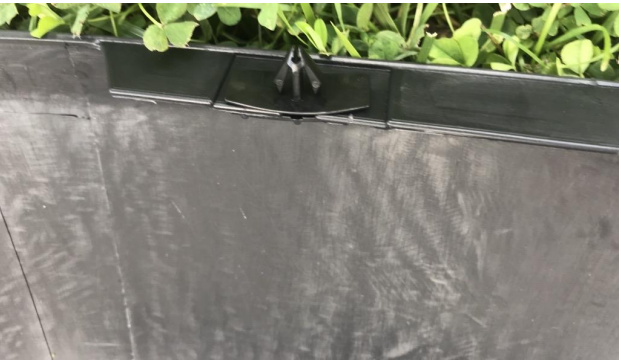
Figure D
5. Once the pop-ins are slid into place, press down to secure each clip flat with the inside of the fender flare (Figure E).
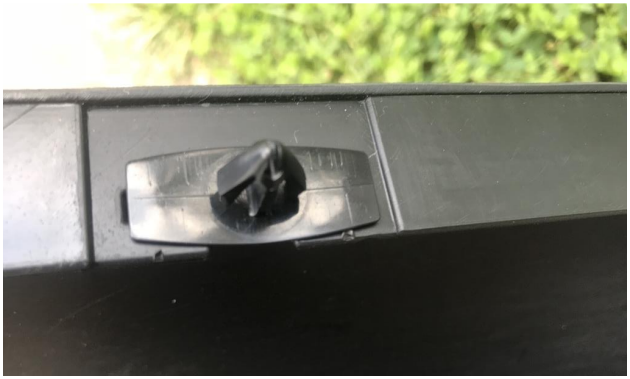
Figure E
6. Line up the pop-ins with the fender flare holes on the vehicle and press them in (Figure F).
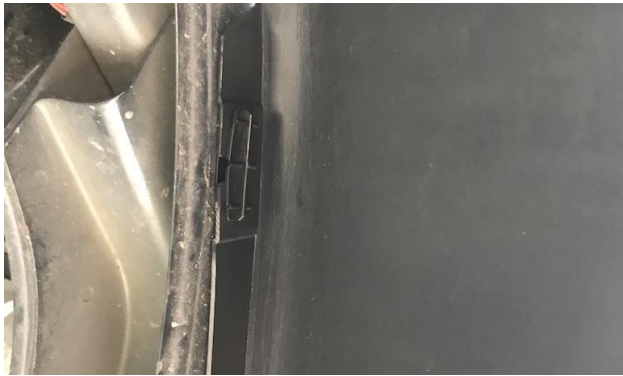
Figure F
7. Take the factory turn signal and move it into the hole of the fender flare (Figure G).
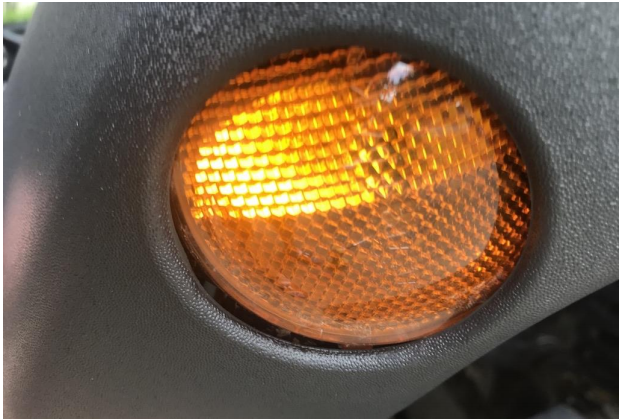
Figure G
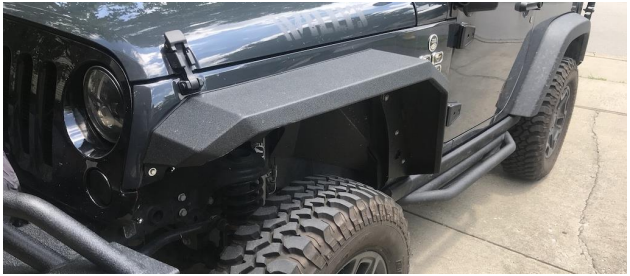
Before
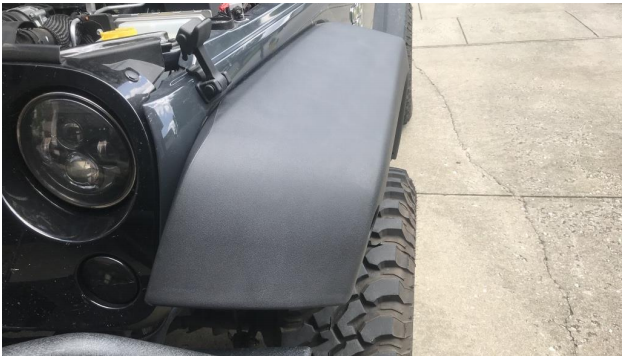
After
Installation Instructions Written by ExtremeTerrain Customer J. Sandlin 06/28/2018
