 FREE 1 to 3-Day Delivery on Orders $119+ Details

How to Install MORryde Side Mount Tray on your Wrangler
Installation Time
15 minutes
Tools Required
- ½” Open End Wrench
- ½” Socket and 13mm socket
- Ratchet
- T45 Torx Driver
- Masking Tape
- Wire Cutters
- Needle Nose Pliers
- OPTIONAL: Drill or electric screwdriver
Shop Parts in this Guide
This guide is for installing the MORyde Side Mount Tray on the PASSENGER side of a 2007-2017 Jeep Wrangler (J104170-B). The driver side installation is slightly different as the fender is more accessible for the J-Nut installation. Read all instructions carefully before starting.
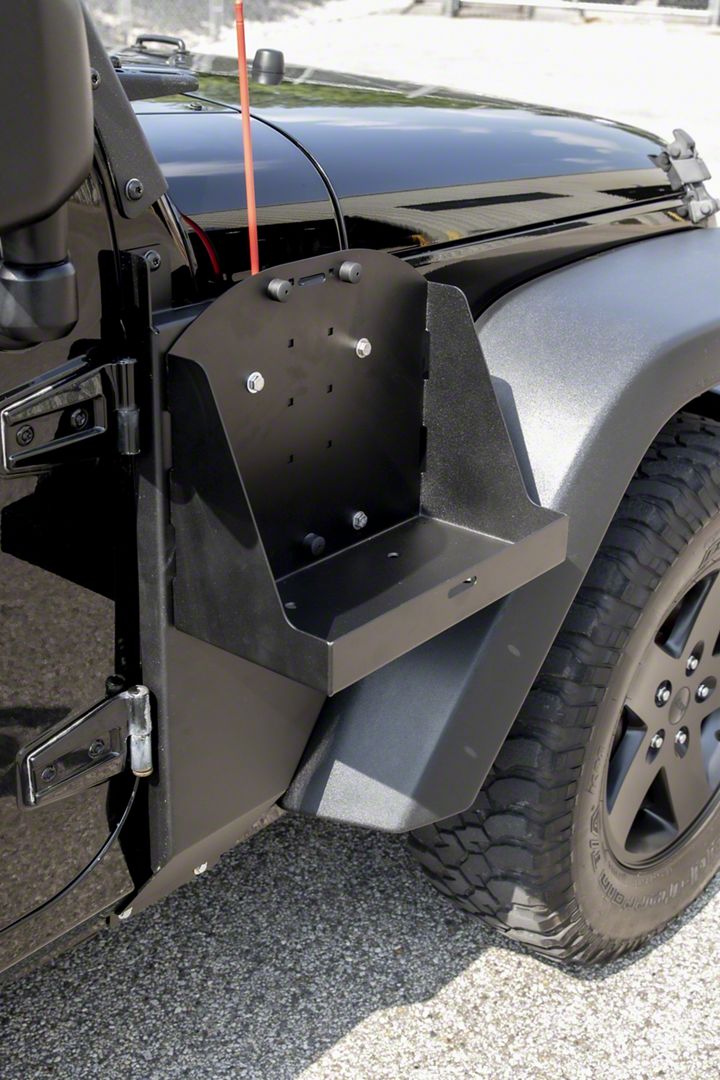
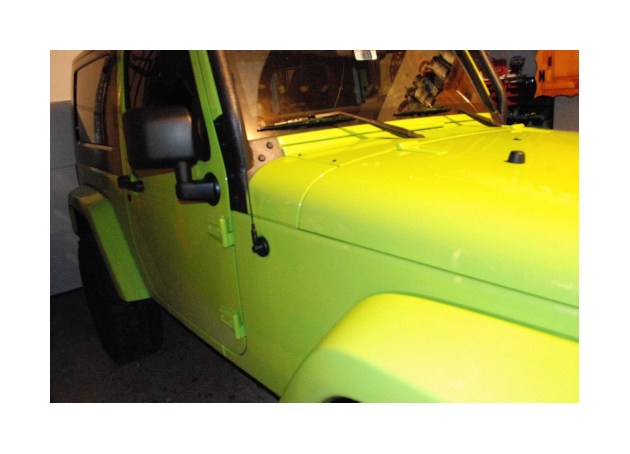
Before
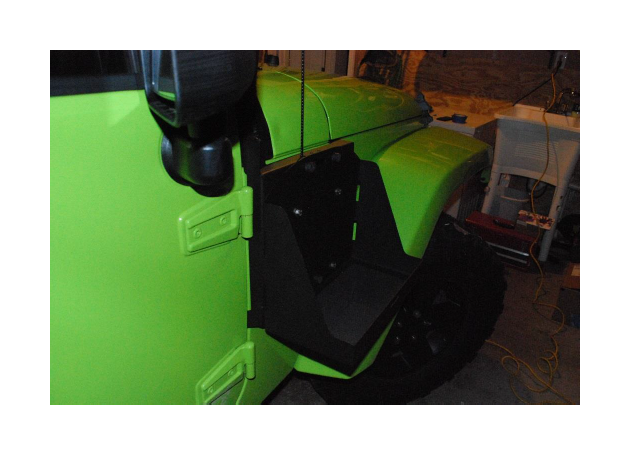
After
Installation Instructions:
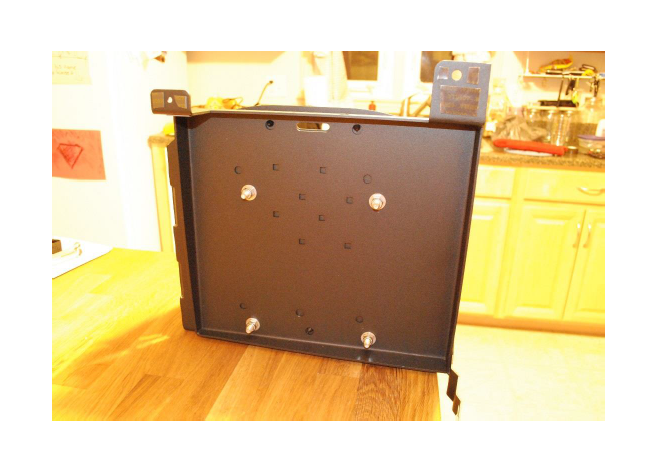
1. If using the universal tray, use the included ½” bolts, nuts, and washers to attach the tray to the mount. There are two positions for the tray, one will mount the tray slightly forward. The different mounting positions are to provide more clearance for the fuel containers you are using to ensure the mirror will not contact the container once mounted. On the passenger side of the vehicle, only the back position will work – you cannot mount the tray in the forward position as the hole for the antenna will not line up.
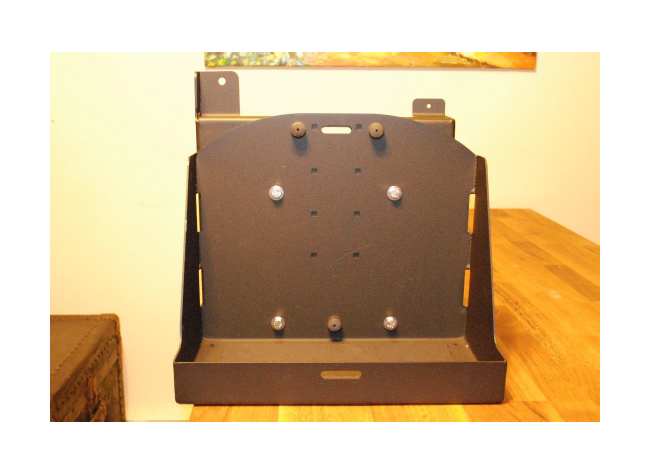
Be sure to mount the tray with the nuts on the back side of the mount to ensure the bolts will not contact and damage the container placed in the tray.
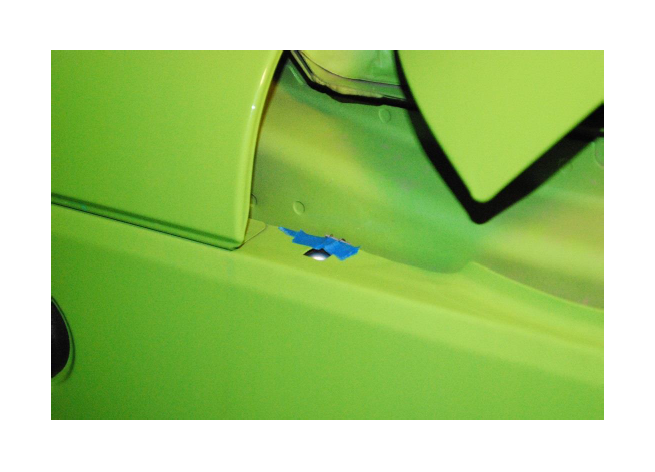
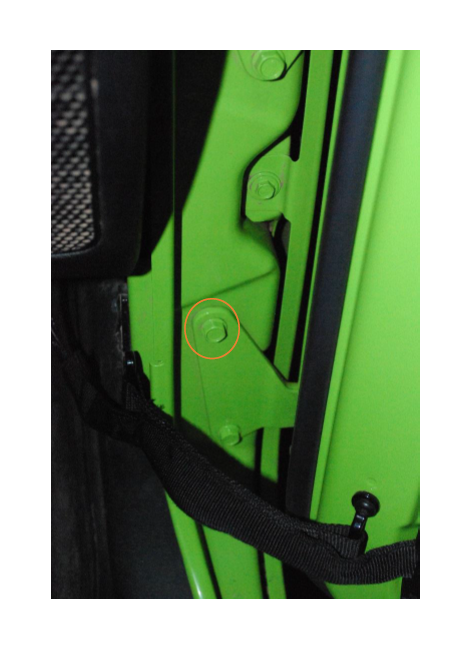
2. Open the hood of the Jeep and locate the square hole in the fender just forward of the cowl (see picture). Clean the area thoroughly.

3. The included J-Nut will not fit between the fender and inner fender and due to the antenna attachment and fender mounting on the passenger side, you will not be able to pull the fender out far enough to slip it in place. To make installation easier, cut the J-Nut with the wire cutters leaving enough of the top so the J-Nut will hang from the fender.
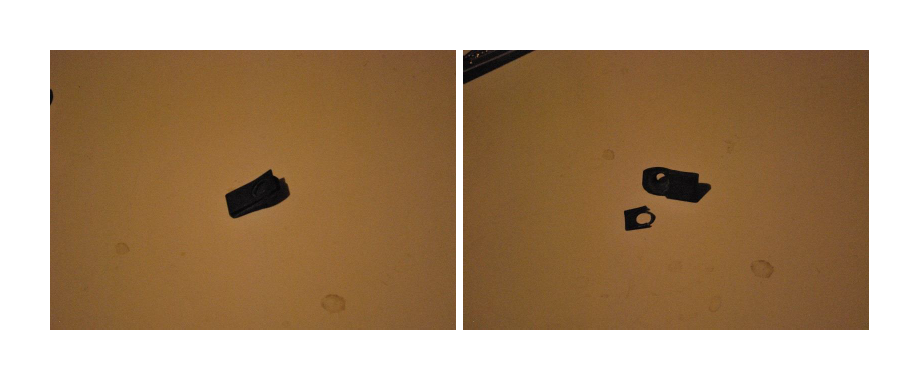
4. Using the Needle Nose Pliers, carefully hang the J-Nut from the fender making sure the threaded nut is visible through the square hole in the fender. You can help secure it from slipping off with a small piece of masking tape.
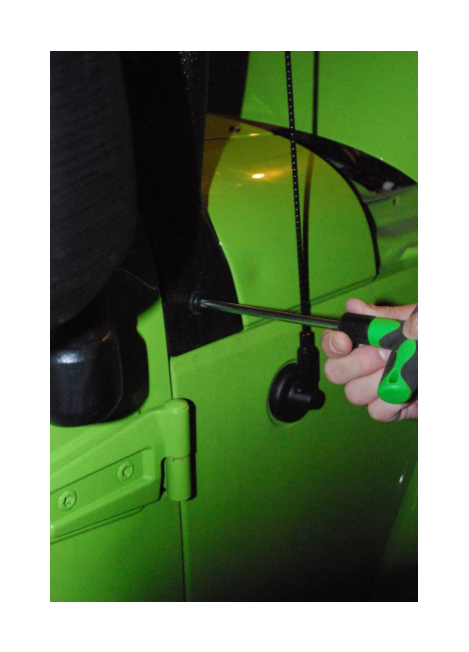
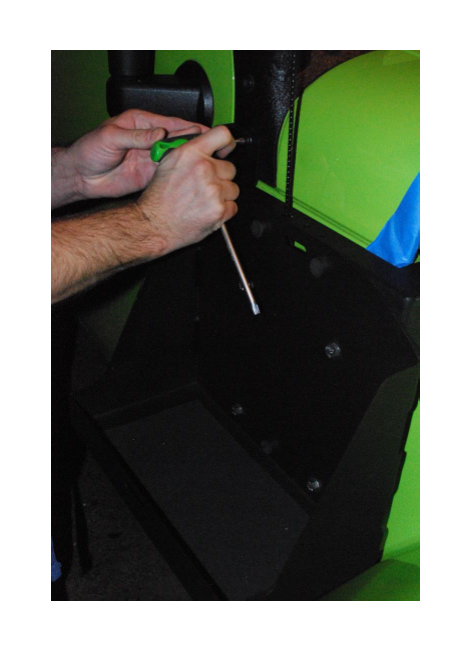
5. Remove the lower bolt from the windshield bracket using the T45 Torx Driver. Please note that the windshield bracket on the jeep in the pictures is black power-coated because it is part of a previously installed light bar. The stock windshield bracket will be body-colored.
6. Open the door and remove the top bolt from the inner hinge using the 13mm socket and ratchet.
7. With the help of a friend, hold the mount in place over the three holes. Install the included bolt and washer through the top hole of the mount and into the J-Nut. Leave the bolt loose. Note that some masking tape was put on the front of the cowl to protect the paint. This is not strictly necessary, but the fit is tight and it is recommended.

8. Reinstall the bolt into the windshield bracket and hinge that were removed in steps 5 and 6 through the mount.
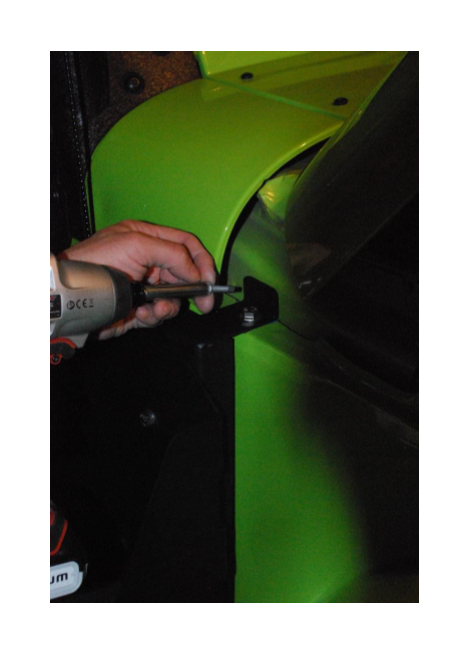
9. OPTIONAL: For additional strength, a self-tapping screw is included that can be used to attach the tab at the top of the mount. This can be installed using a drill or electric screwdriver.
Post Installation: Verify the mount is secure. Close the hood and door carefully and check for clearance. Using the provided strap, install the desired container and verify clearance with the door and mirror. Enjoy your MORyde Side Mount Tray!
