 FREE 1 to 3-Day Delivery on Orders $119+ Details

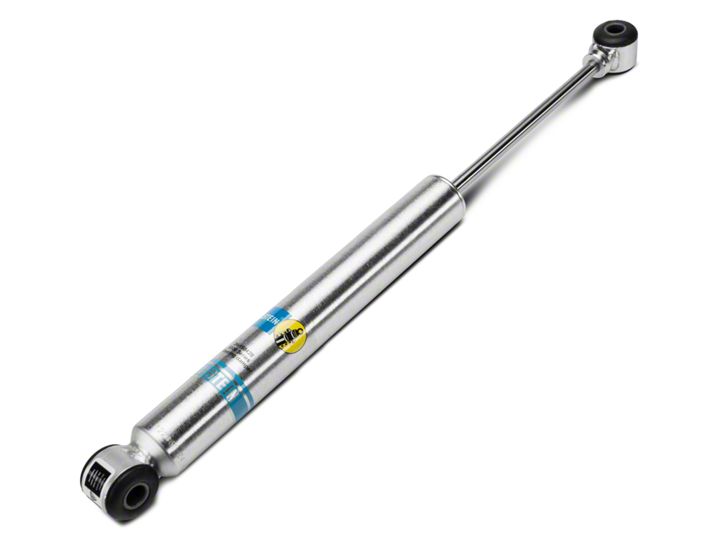
How to Install Bilstein 5100 Series Steering Damper on your Wrangler
Installation Time
30 minutes
Tools Required
- 18mm Open End Wrench
- Rubber Mallet
- Wire Cutters (Optional)
- Shock Boot (Optional)
- Wire Ties (Optional)
Shop Parts in this Guide
This guide is for installing the Bilstein 5100 Series Steering Damper on a 2007-2017 Jeep Wrangler. Read all instructions carefully before starting.
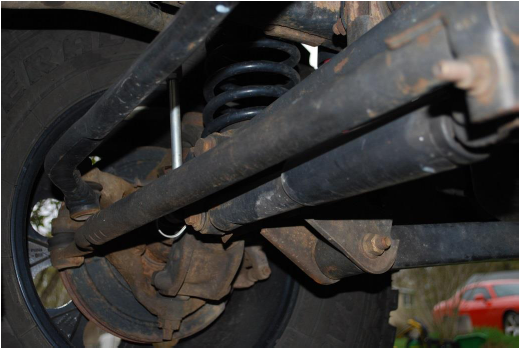
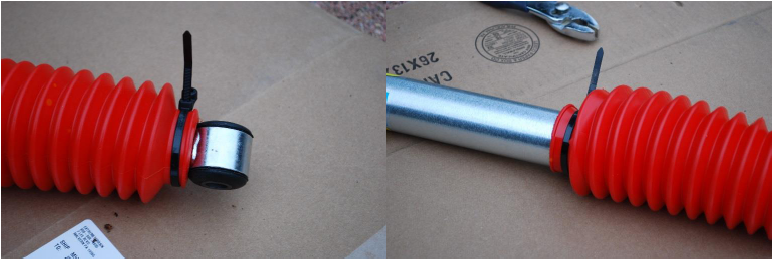
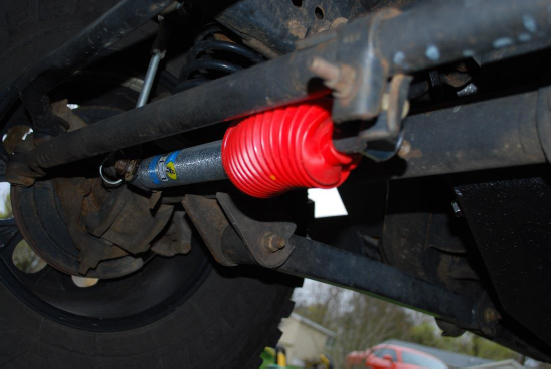
Before
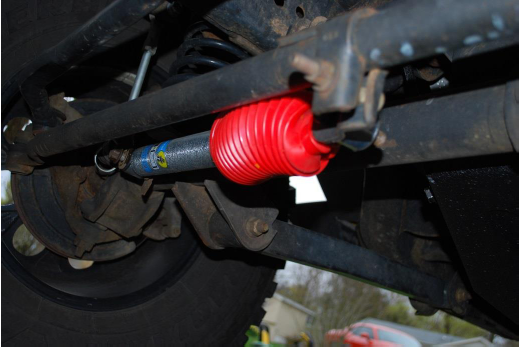
After
Installation Instructions:
1. Park the vehicle on a level surface and apply the parking brake.
2. If you are not installing a boot on the steering damper, skip to step 4.
3. Pull the boot over the steering damper shaft.
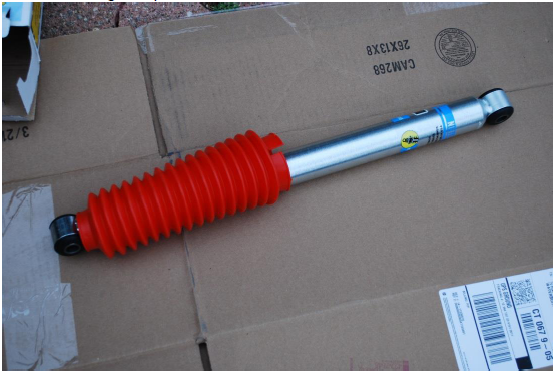
4. Secure the boot to the damper with the wire ties.
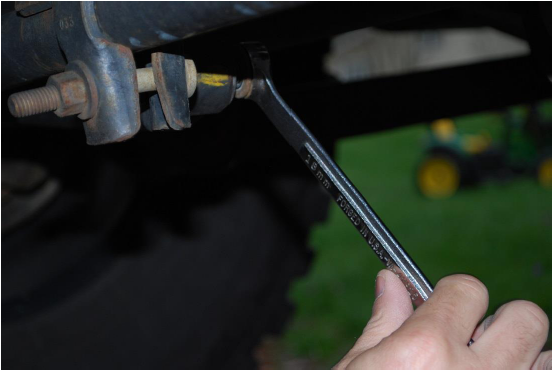
5. Using the 18mm wrench, remove the bolt from the passenger side of the factory steering damper. The bolt may be stuck, tap the wrench with the mallet to get it started. Retain the bolt and the flag nut for reassembly.
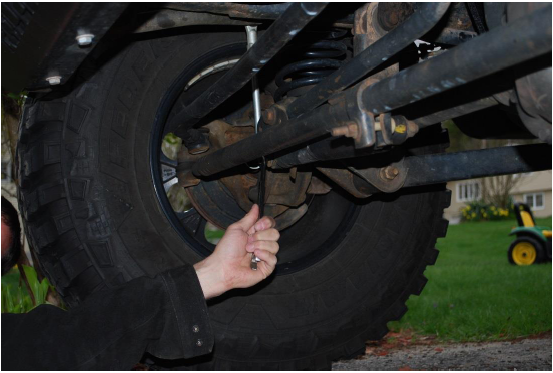
6. Using the 18mm wrench, remove the nut from the driver side of the factory steering damper. Retain the nut for reassembly.
7. Pull the driver side of the factory steering damper off of the stud and remove the damper.

8. Install the new steering damper in the passenger side and install the original bolt. Loosely start the bolt into the flag nut.
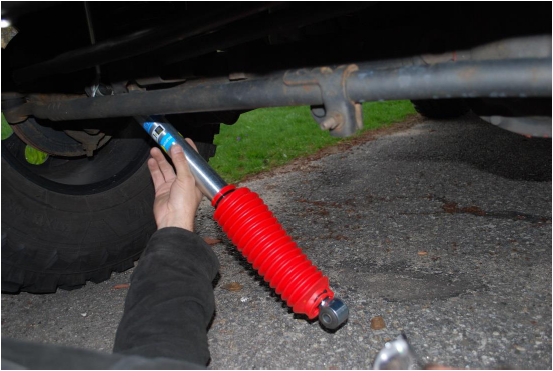
9. Pull the driver side of the new steering damper onto the stud on the driver side. You may have to compress the new steering damper for it to reach. You should be able to push it in slowly by hand.
10. Attach the nut from step 7 on the driver side stud. Tighten the passenger side bolt and driver side nut to 60 ft./lbs.
11. Your installation is complete.
