 FREE 1 to 3-Day Delivery on Orders $119+ Details

How to Install Barricade Aluminum Inner Fender Flares - Textured Black (07-17 Wrangler JK) on your Jeep Wrangler
Installation Time
2 hours
Tools Required
- Box Cutter/Knife
- Socket Wrench
- 10mm Socket
- 1/8" Drill Bit
- 3/8" Drill Bit
- Drill
- Marker

Shop Parts in this Guide
Installation Instructions:
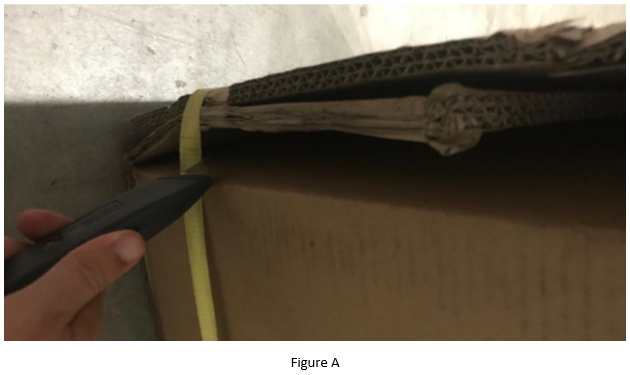
1. Carefully open the package using a box cutter or knife (Figure A) and ensure both inner fender flares and installation hardware are included and undamaged. Note: If factory fender liners are still on vehicle, these must be removed prior to installing Barricade Aluminum Front Inner Fender Flares.
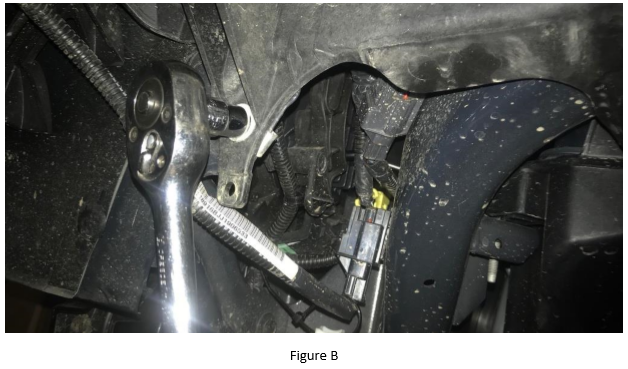
2. Remove the 10mm bolt on the inside of the front of the fender and remove using a 10mm socket (Figure B).
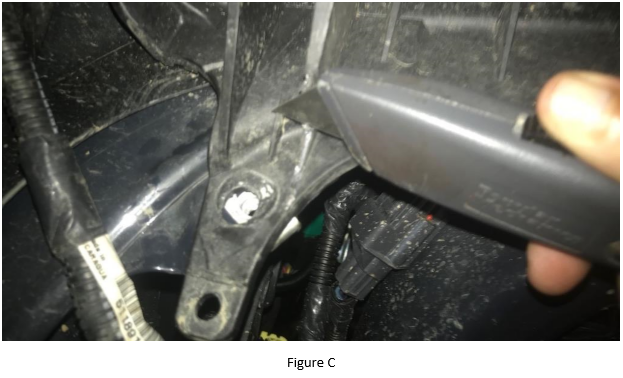
3. It may be necessary to strip away a small portion of plastic in order for the Barricade Aluminum Front Inner Fender Flare to be positioned correctly (Figure C).
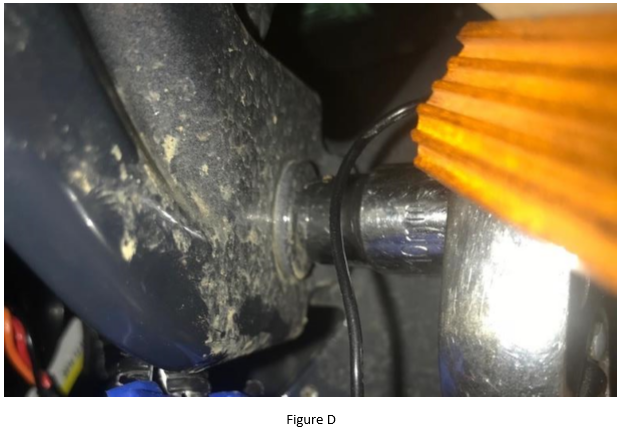
4. Remove the inner 10mm bolt where "L" bracket will be placed (Figure D).
5. Place "L" bracket with lip facing the front of the vehicle and reinstall 10mm bolt.
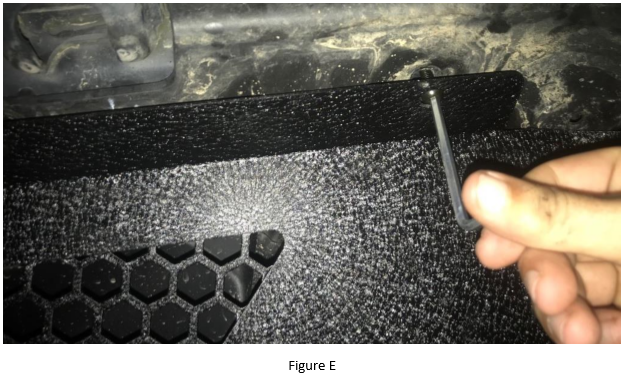
6. Loosely install the Barricade Aluminum Inner Fender Flare by installing supplied Allen bolts into the top two mounting locations (Figure E).
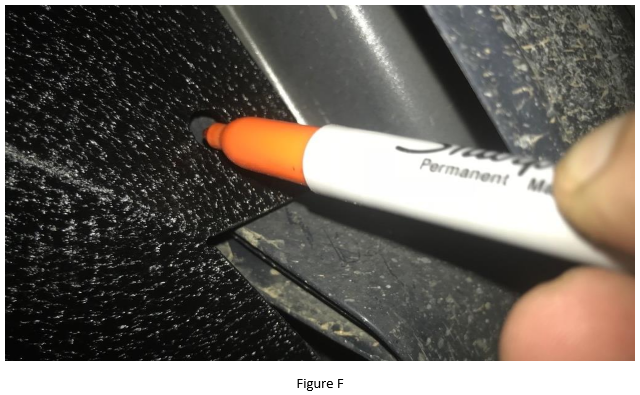
7. Use a marker to mark the additional two bolt locations (Figure F).
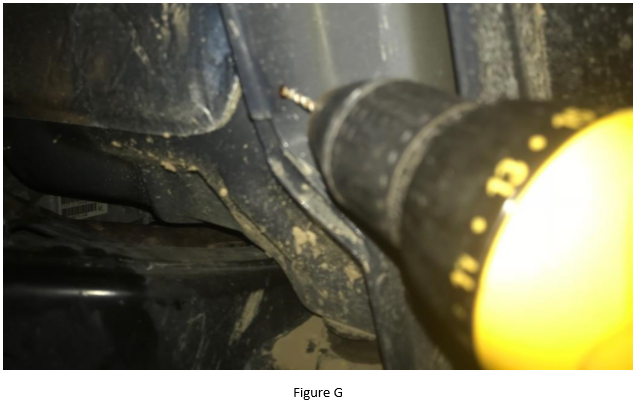
8. Remove the Barricade Aluminum Inner Fender Flare and drill the holes (Figure G) just marked using a 1/8" drill bit as a pilot hole and a 3/8" drill bit for the actual hole.
9. Place supplied clip holders where the holes have just been drilled and reinstall the Barricade Aluminum Inner Fender Flare and bolt all Allen bolts in place along with their lock and large washers.
10. Complete Steps 2-9 on the other front fender.

Installation Instructions Written by ExtremeTerrain Customer J. Sandlin 10/08/2017
