 FREE 1 to 3-Day Delivery on Orders $119+ Details

How to Install Alpine Front & Rear 6.5 in. Convertible Speakers - 75w (07-18 Jeep Wrangler JK) on your Jeep Wrangler
Installation Time
60 minutes
Tools Required
- 7mm Socket
- Socket Wrench
- Panel Removal Tool
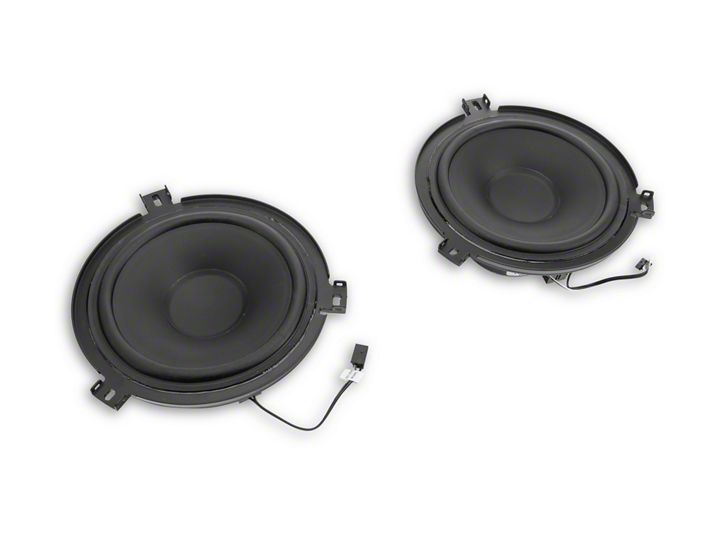
Shop Parts in this Guide
1. Beginning on the passenger side, remove the side dash panel using a panel removal tool (Figures A & B).
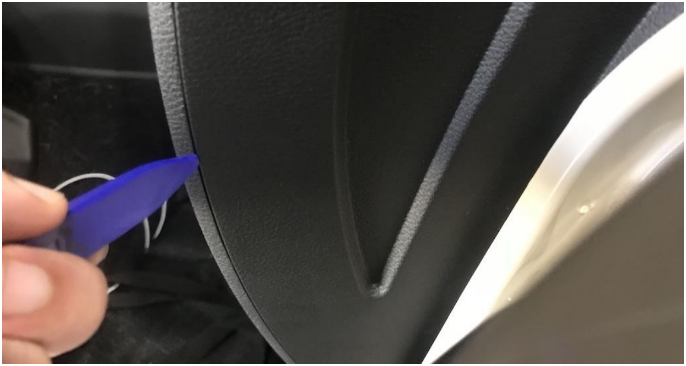
Figure A
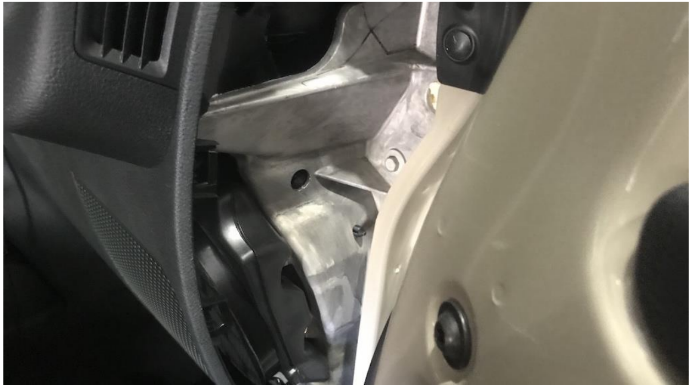
Figure B
2. Open the glove compartment (Figure C). Push the inside tabs inward until the two plastic dowels can clear the dash and remove the glove compartment.
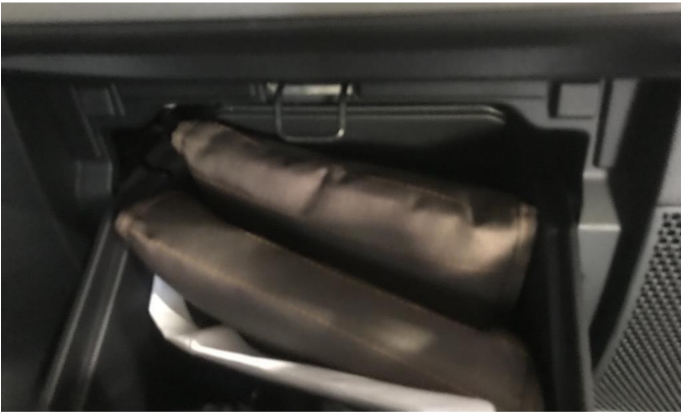
Figure C
3. Using a 7mm socket wrench, remove the two lower bolts under the glove compartment area, as well as a third bolt in the bottom corner of the dash near the door panel (Figure D).
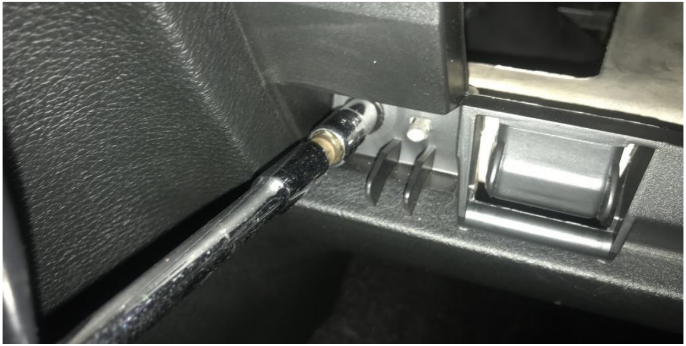
Figure D
4. Using a 7mm socket wrench, remove the two copper bolts from the side of the dash which hold the speaker into place (Figure E).

Figure E
5. Pull the plastic trim covering the dash forward to expose a 10mm bolt holding the bottom of the speaker in place and remove using a 10mm socket wrench (Figure F).
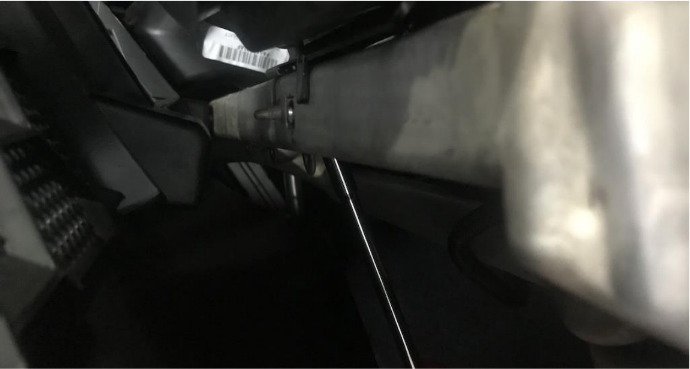
Figure F
6. Unclip the speaker from the speaker housing (Figure G).
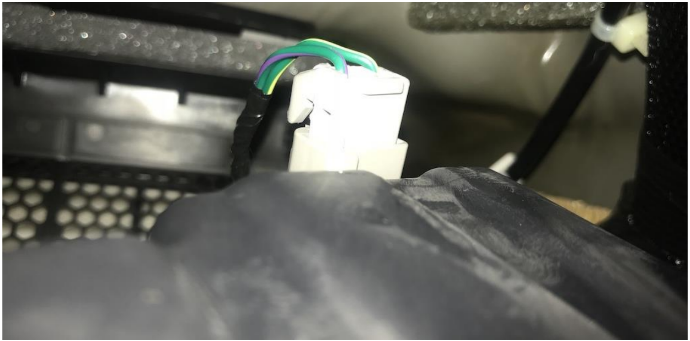
Figure G
7. Disconnect the speaker from the speaker housing using a Philips head screwdriver and replace with the new Alpine speaker (Figure H).
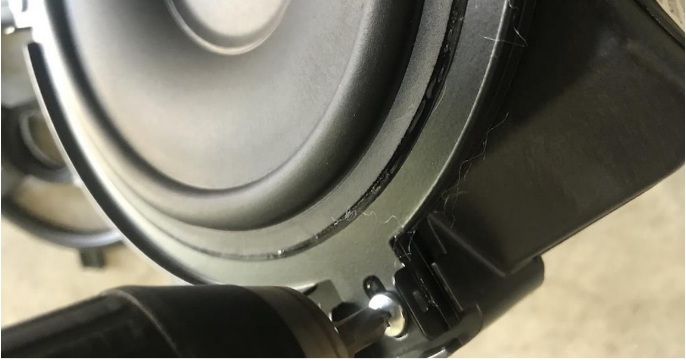
Figure H
8. Return the speaker housing back into the dash (Figure I). Return the five bolts (four 7mm, one 10mm) removed between Steps 3-5.
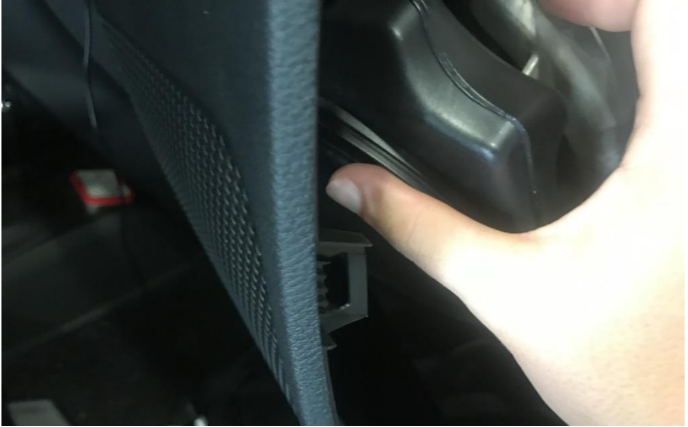
Figure I
9. Remove the top off the tweeter in the top corner of the dash by the windshield using a panel removal tool (Figure J).
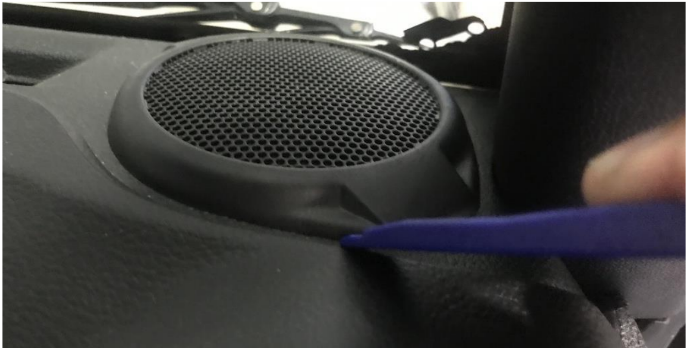
Figure J
10. Remove the two bolts holding the tweeter in place using a 7mm socket wrench (Figure K).
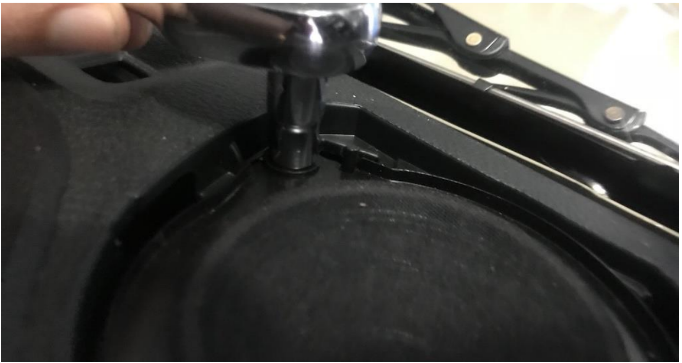
Figure K
11. Disconnect the tweeter (Figure L).
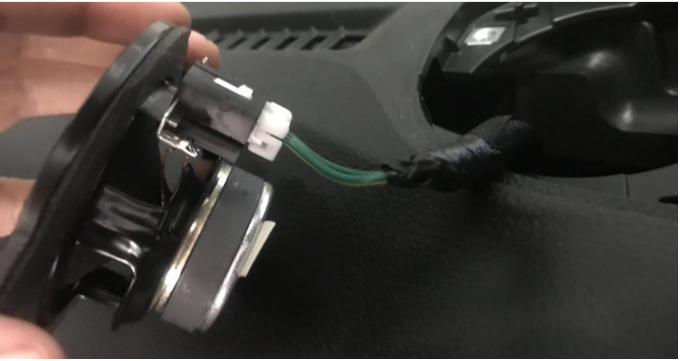
Figure L
12. Press the Alpine tweeter into the plastic tray firmly (Figure M).

Figure M
13. Connect either the 0db or 3db (installer's preference) and the ground wires to the provided wiring harness (Figure N).
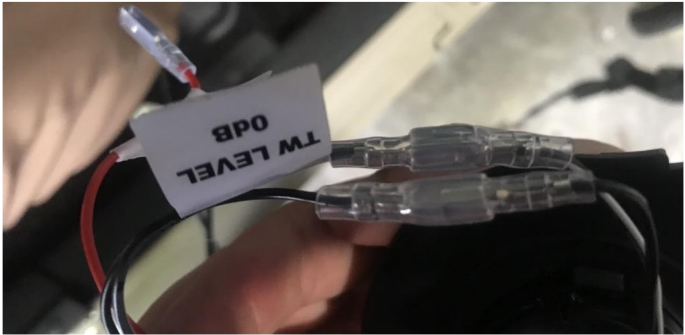
Figure N
14. Connect the other end of the wiring harness to the speaker harness (Figure O).
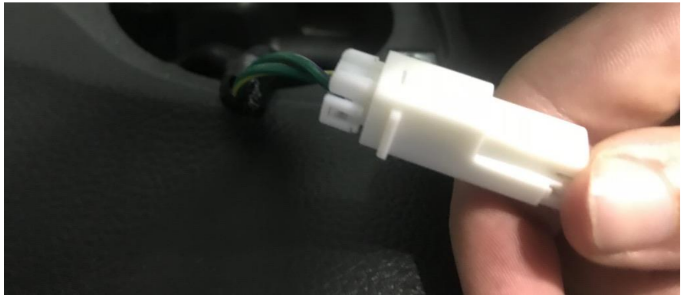
Figure O
15. Return the two bolts removed in Step 10 (Figure P).
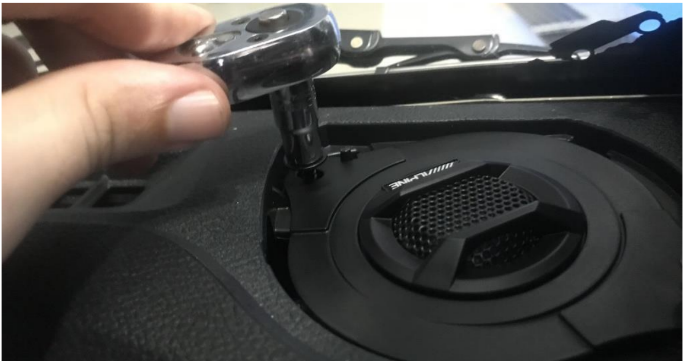
Figure P
16. Return the plastic trim cover (Figure Q).
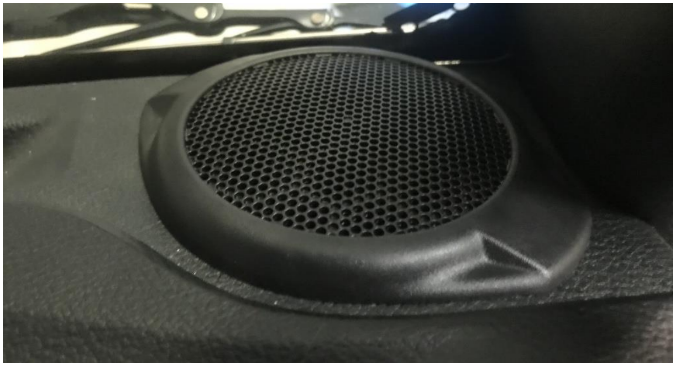
Figure Q
17. Repeat all steps on the driver's side.
Installation Instructions Written by ExtremeTerrain Customer J. Sandlin 10/04/2018
