 FREE 1 to 3-Day Delivery on Orders $119+ Details

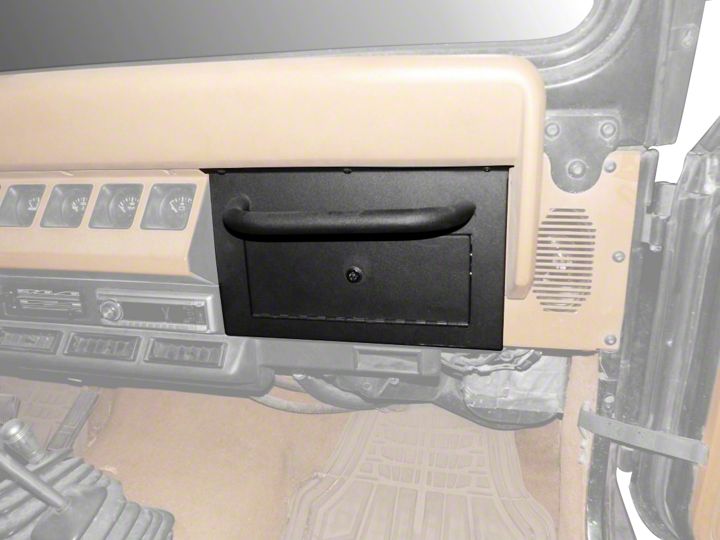
How to Install Smittybilt Vaulted Glove Box on your 1987-1995 Wrangler
Shop Parts in this Guide
IMPORTANT NOTICE:
Carefully read the instructions before attempting to install this product. Smittybilt is in no way responsible for any damage to the vehicle or personal injury that may occur during the installation or use of this product.
INCLUDED COMPONENTS
1 – Vaulted Glove Box
2 – Keys
2 – “L”-Brackets
8 – ¼”-20 X1/2” Button Head Screws
4 – Nylock Nuts
8 – Washers
INSTALLATION INSTRUCTIONS
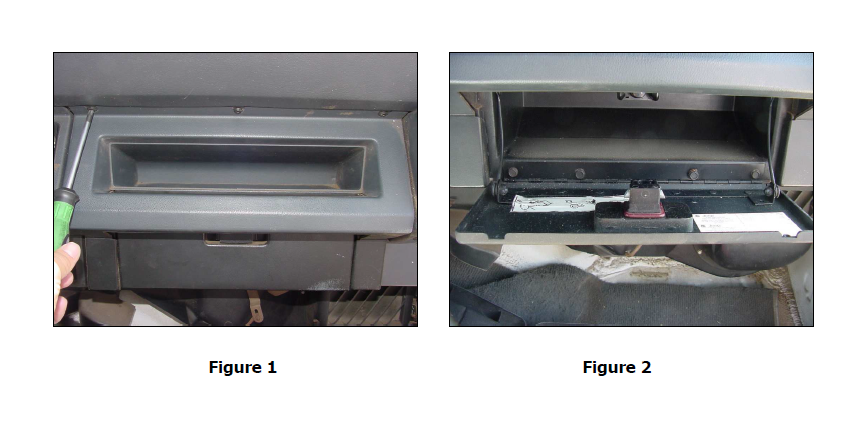
1) Remove the three screws from across the top of the factory glove box (Figure 1). Save screws for use in Step 6.
2) Open the factory glove box, remove the screws fastening the lid and remove the lid (Figure 2).
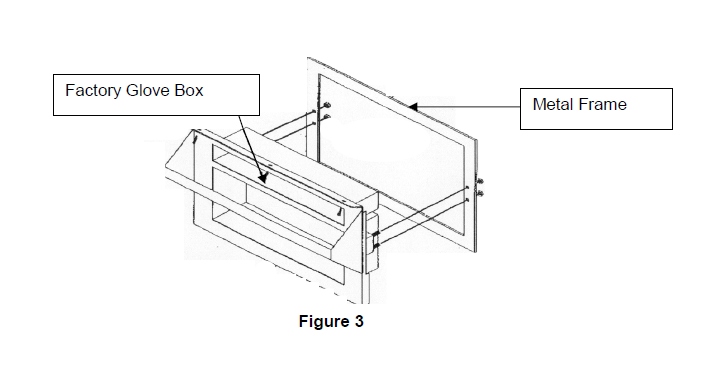
3) Reach behind the dash and remove the (4) screws on the backside of the factory glove box face(Figure 3). There are (2) screws behind each end of the handle. Note: In some cases there may be nuts instead of screws, however they are located in the same spot. These nuts are very difficult to get to and tedious to remove. We recommend using a ¼” drive ratchet with a 7/16” socket.
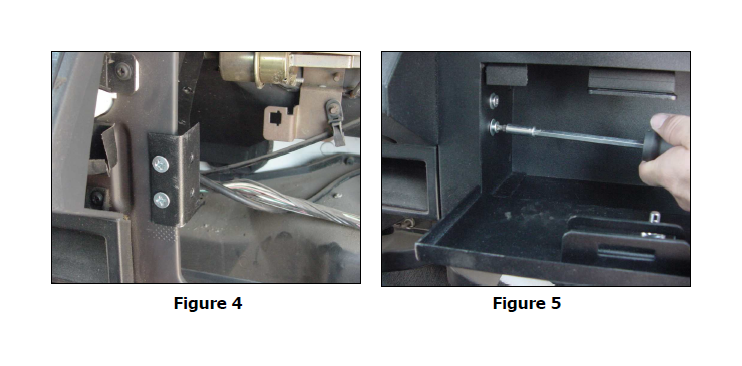
4) Using the holes where the factory handle was connected, attach the (2) “L” Brackets using the (4) Bolts, Nylock Nuts and Washers provided (Figure 4).
5) Once the “L” Brackets are attached to the metal frame, carefully insert the Vaulted Glove Box into the dash cavity. Attach Vaulted Glove Box through the holes on the inside of the Glove Box and onto the “L” Bracket using the (4) Bolts and Washers provided (Figure 5).
6) Refasten the screws removed in Step 1, securing the top of the glove box area. Installation is complete.
To lock and unlock the Vaulted Glove Box; insert key, push down and turn.
