2022-2024
 2014-2021
 2007-2013


Installation Time
(approx) 2 Hours
Difficulty Level:
Light to Moderate mechanical skill required.
 FREE 1 to 3-Day Delivery on Orders $119+ Details


$370.50 pair
Will this fit your Vehicle?
Saved - View your saved items
We're sorry. We couldn't save this product at this time.
or use

Features, Description, Reviews, Q&A, Specs & Installation
| Brand | Freedom Offroad |
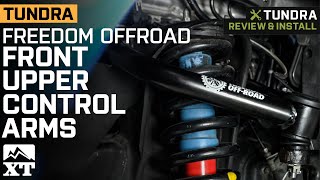
| Control Arms Placement | Front Upper |
Reinforced Steering and Handling. Boost your Toyota Tundra’s performance by replacing your used factory control arms with these Freedom Offroad Front Upper Control Arms for 2 to 4-Inch Lift. These control arms are designed to improve the overall handling of trucks with 2 to 4-inch suspension lifts. Using this pair results in smoother on and off-road drive quality without the hassle of adjusting the arms. Each assembly also features a premium greaseable ball joint that offers greater articulation for an enhanced range of movement.
Premium Construction. With heavy-duty construction, these Front Upper Control Arms deliver optimum off-road functionality with their high tensile strength and improved dimensional accuracy. Each end of the control arm is furnished with wear-resistant, reinforced rubber bushings that can last the lifetime of the vehicle. Moreover, the black e-coated finish further provides the tubing with higher resistance to scratches, chipping, and wearing.
Direct, Bolt-On Installation. These Upper Control Arms are designed for a straightforward installation that reuses your truck’s factory mounting locations. The installation process completes with light to moderate mechanical skills.
Carries a Lifetime Warranty. Freedom Offroad offers a limited lifetime warranty against defects in materials and workmanship of these control arms. Some exclusions may apply; please check terms and conditions for full details.
Application. The Freedom Offroad Front Upper Control Arms for 2 to 4-Inch Lift are designed to fit all 2007-2021 Toyota Tundra models.
Fitment:
Freedom Offroad FO-T703FU
CA Residents:  WARNING: Cancer and Reproductive Harm - www.P65Warnings.ca.gov
Installation Info
Installation Time
(approx) 2 Hours
Difficulty Level:
Light to Moderate mechanical skill required.
What's in the Box